
1. Get a subscription or log in by choosing "Already registered" to use an existing subscription.
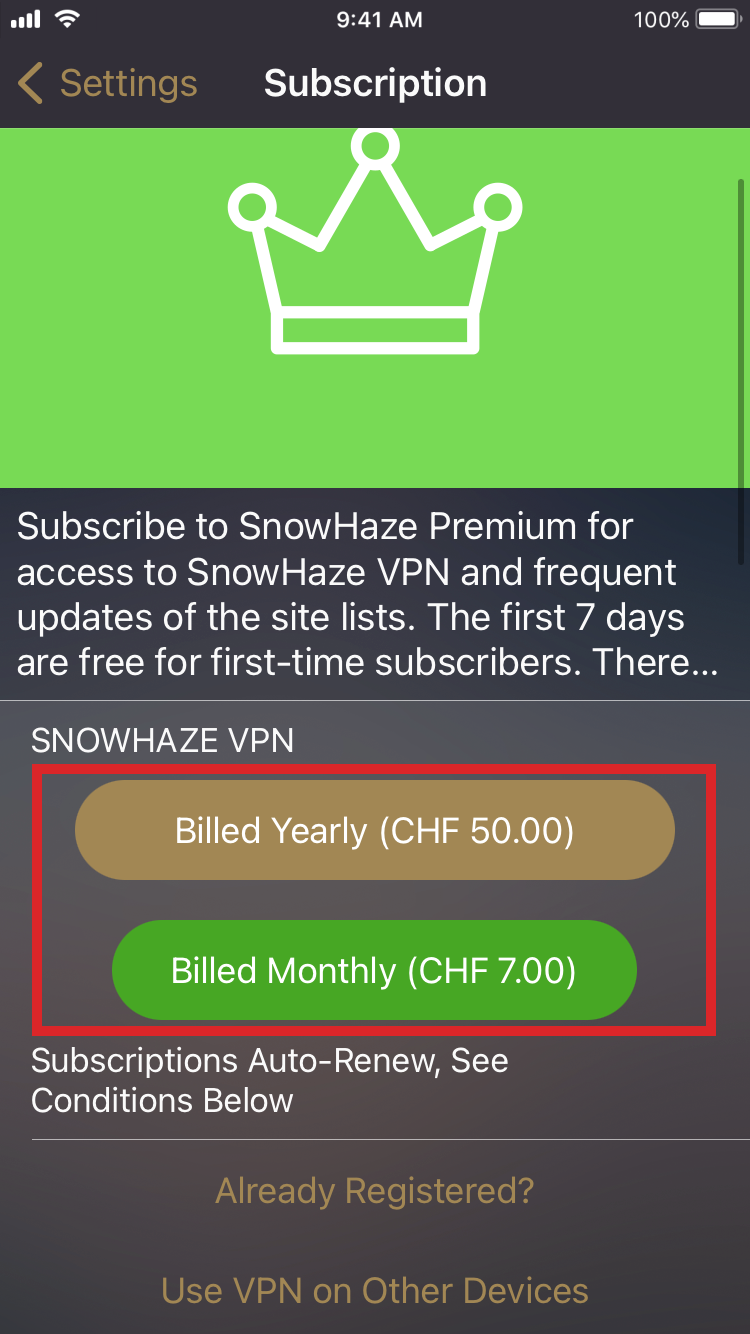
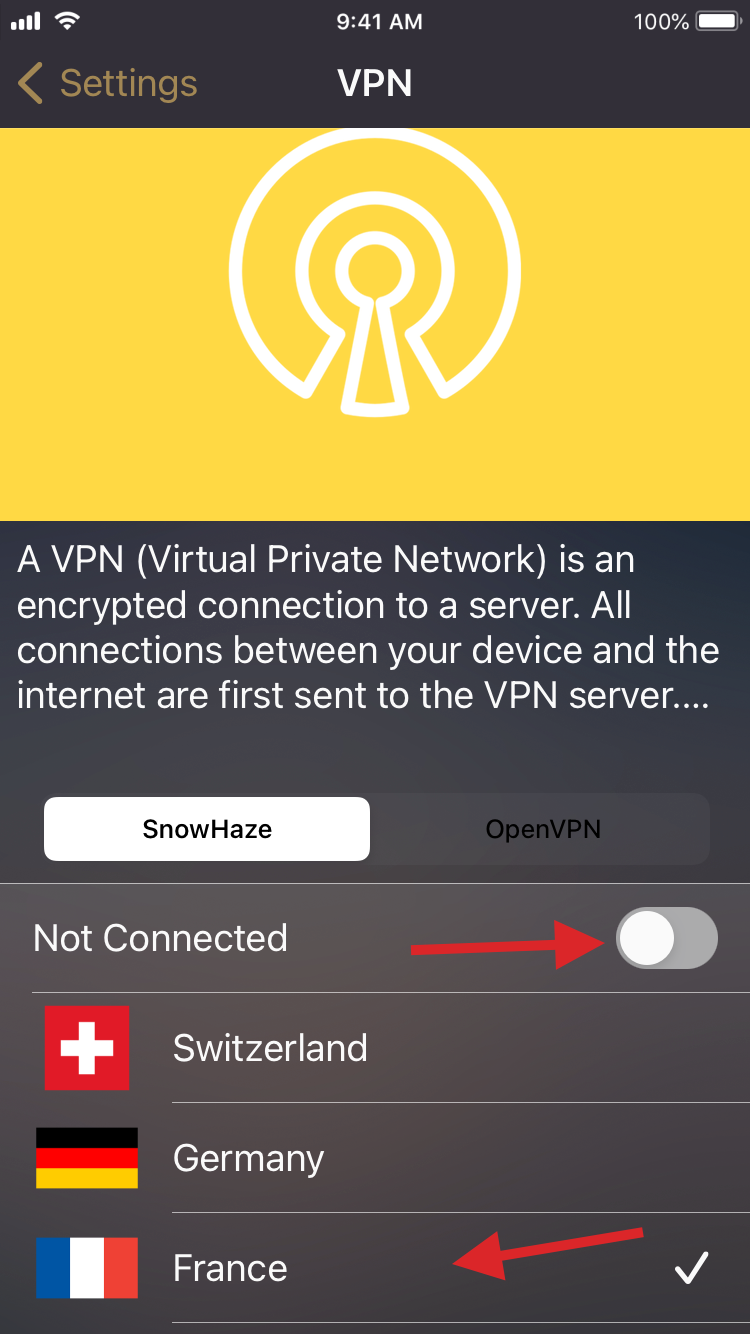
2. Under VPN, choose a location and connect. Maybe you are asked to allow SnowHaze to establish VPN connections.
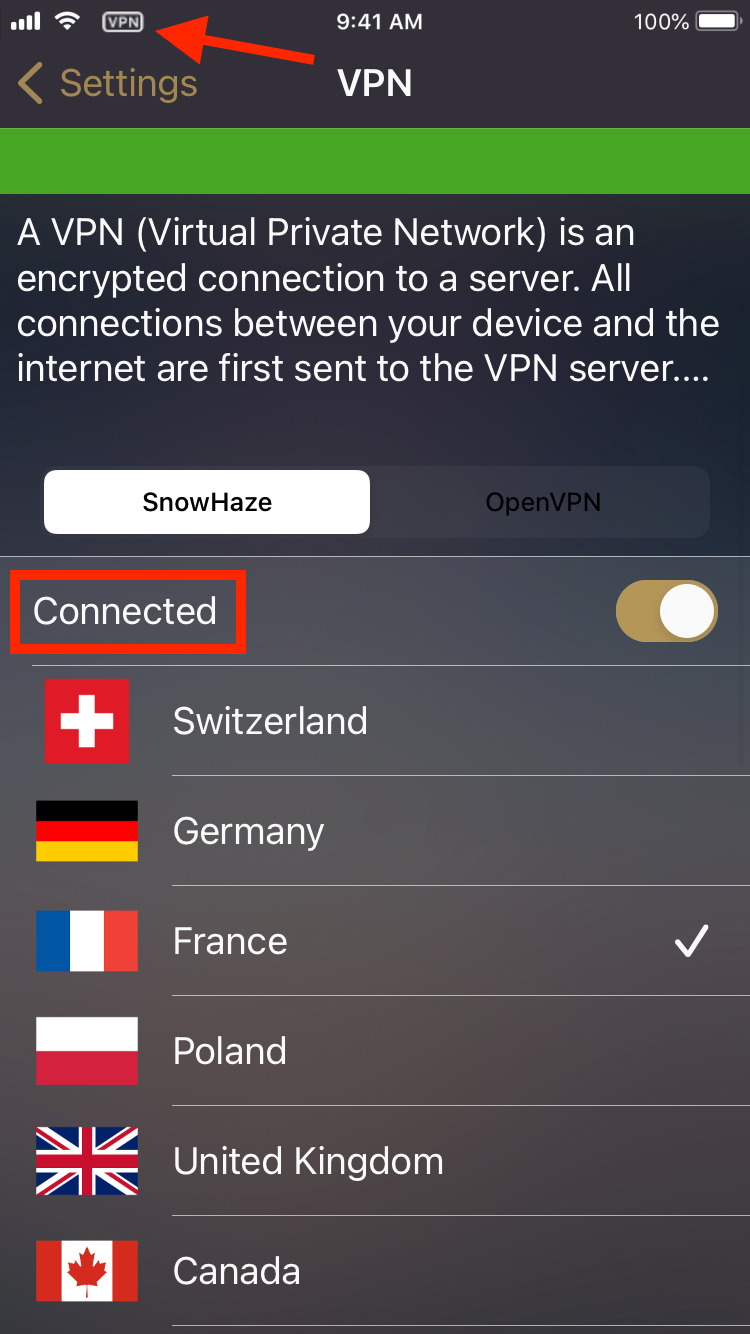
3. You are now connected to the VPN server. You see a VPN icon in your status bar whenever you are connected.
1. Get a subscription or log in by choosing "Already registered" to use an existing subscription.

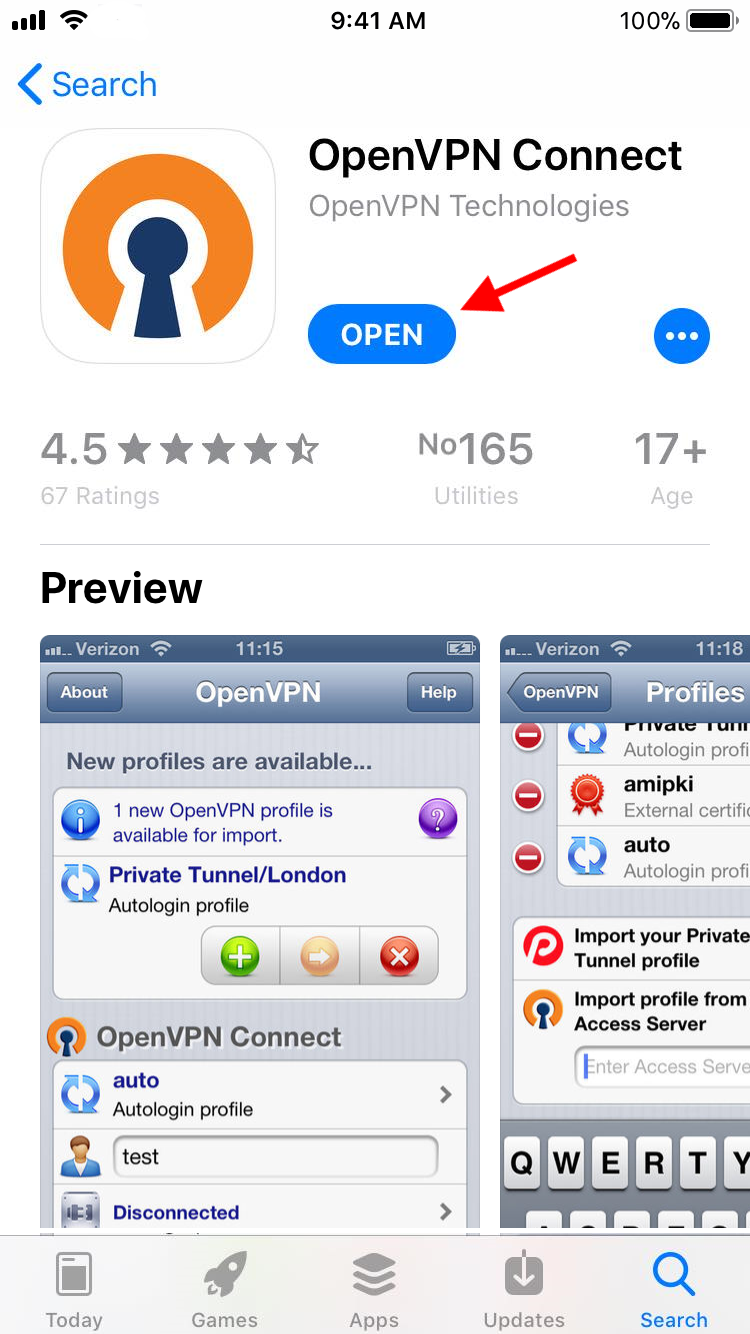
2. Get OpenVPN Connect from the App Store.
3. In SnowHaze under "VPN" choose "OpenVPN" and select a location.
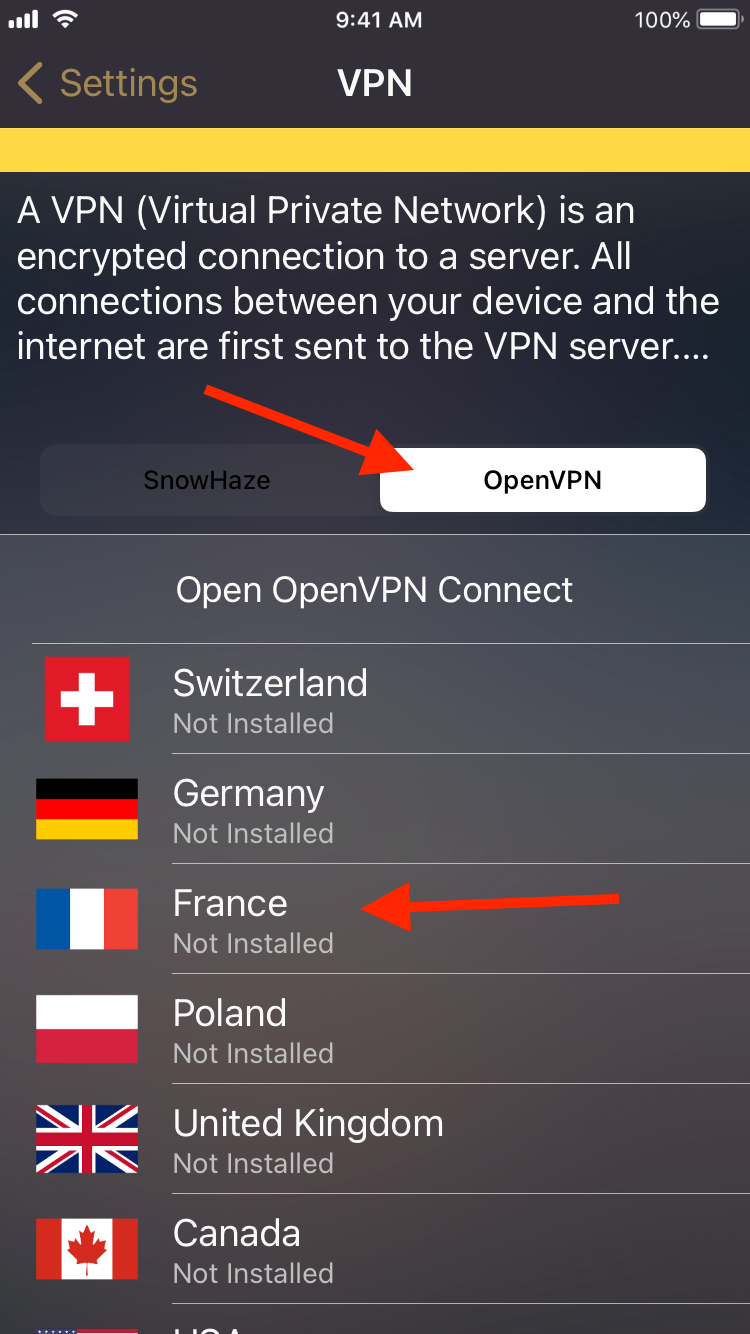
4. Choose "Copy to OpenVPN."
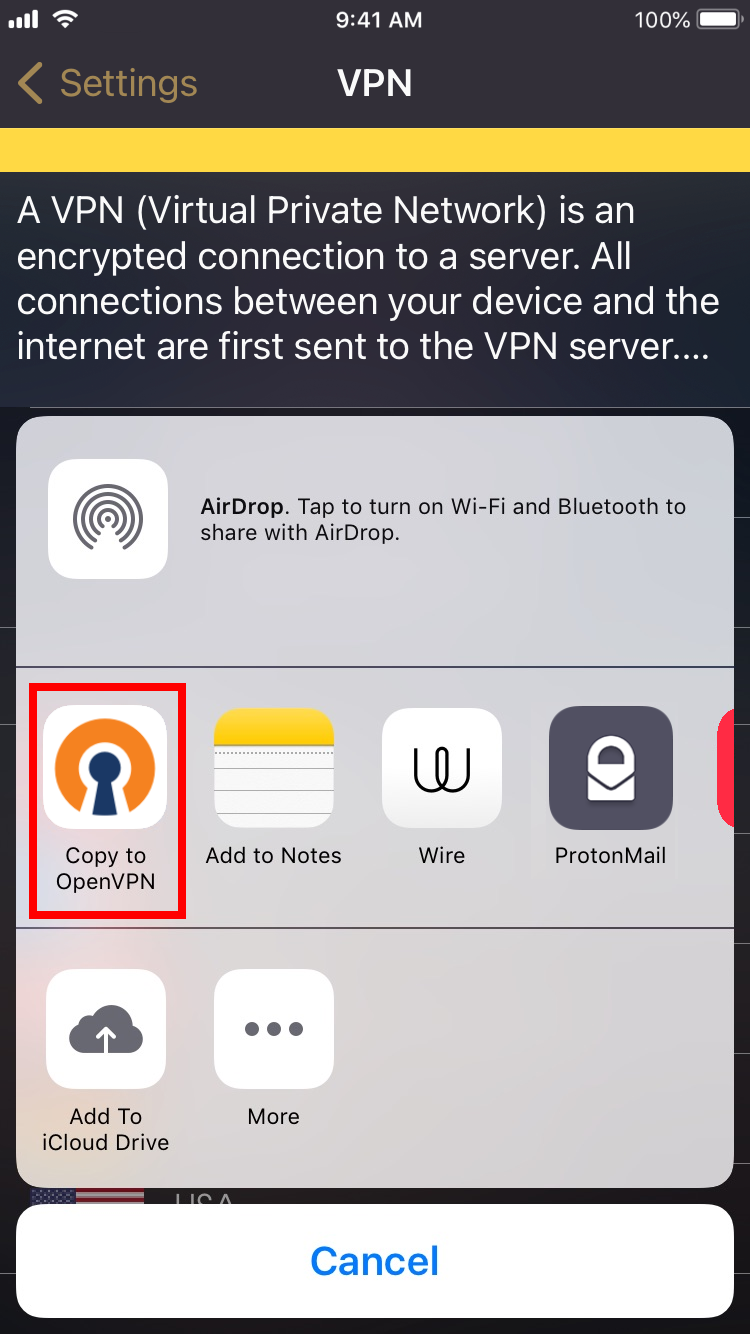
5. Tap on "ADD" to create a new profile for that country.
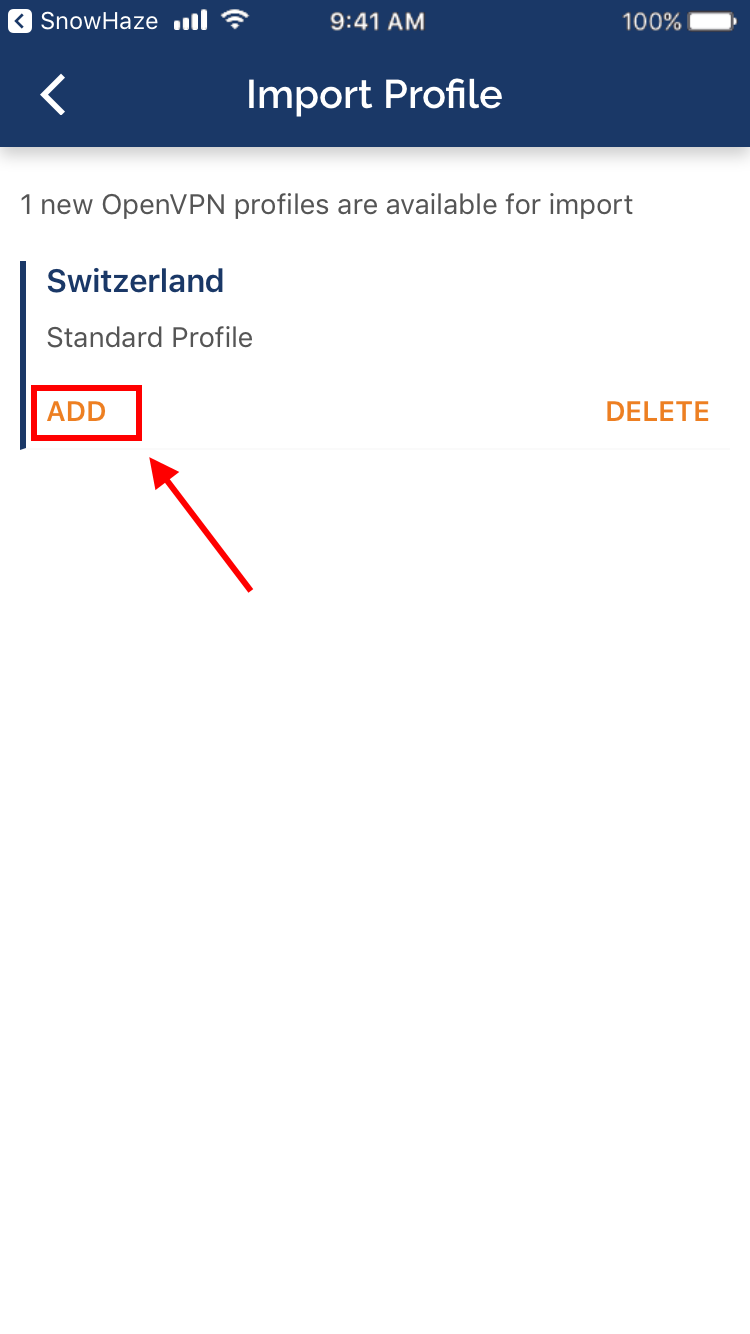
6. Tap on "ADD" and allow OpenVPN to add a VPN configuration on your device.
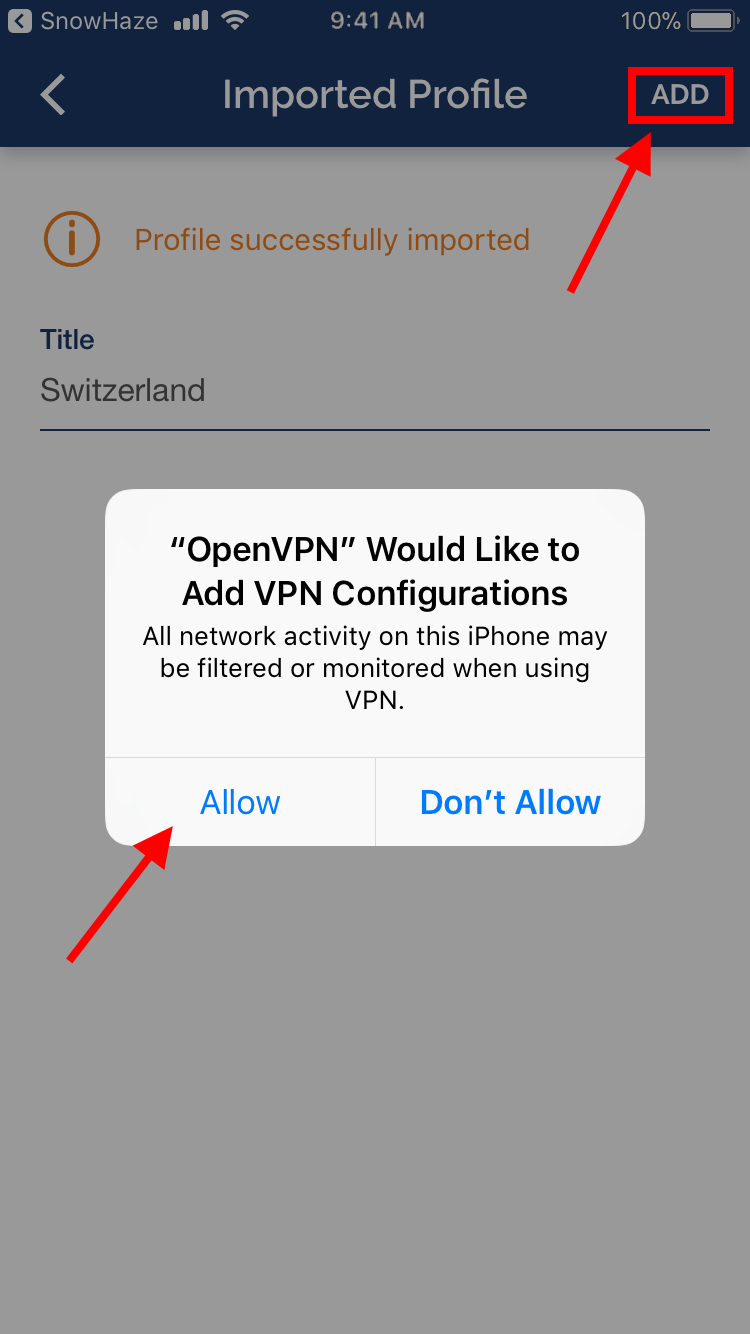
7. Turn on the connection and allow OpenVPN to enable a new VPN connection.
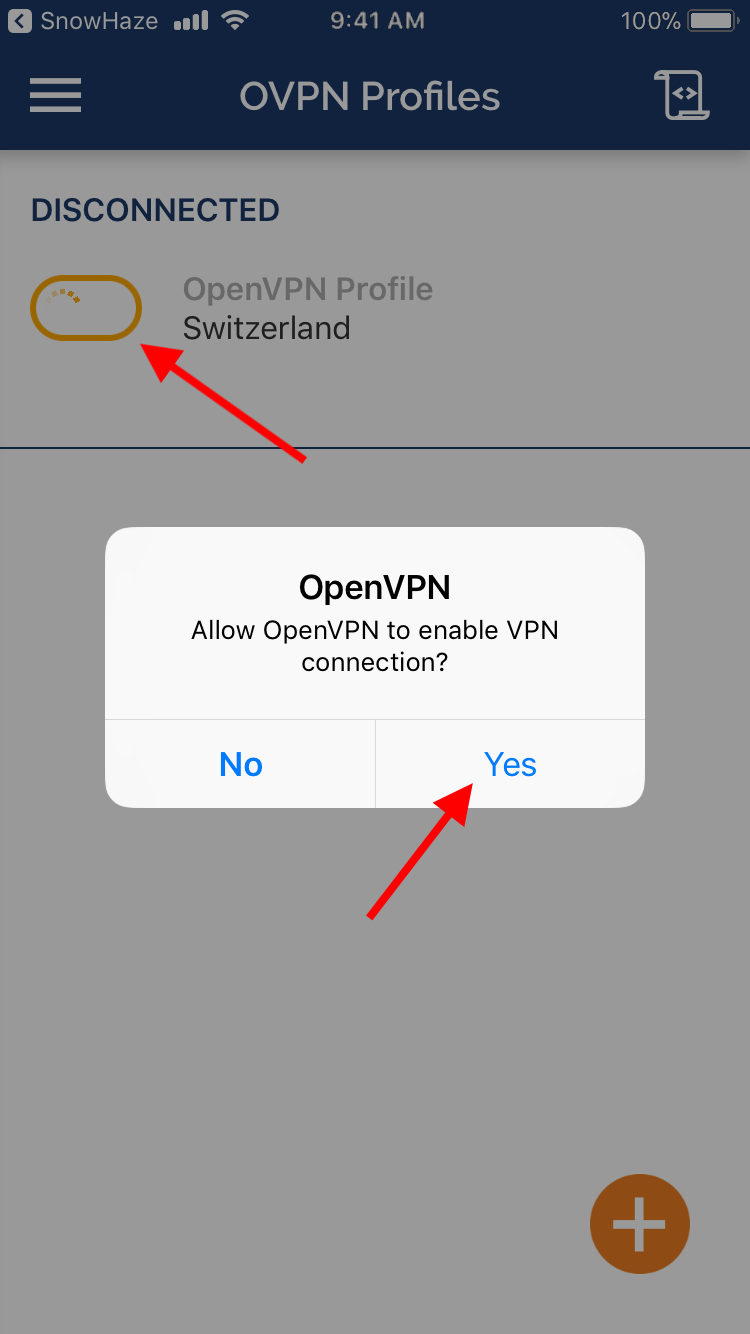
8. You are now connected to the VPN server. You see a VPN icon in your status bar whenever you are connected. You can add multiple locations by repeating the steps above.
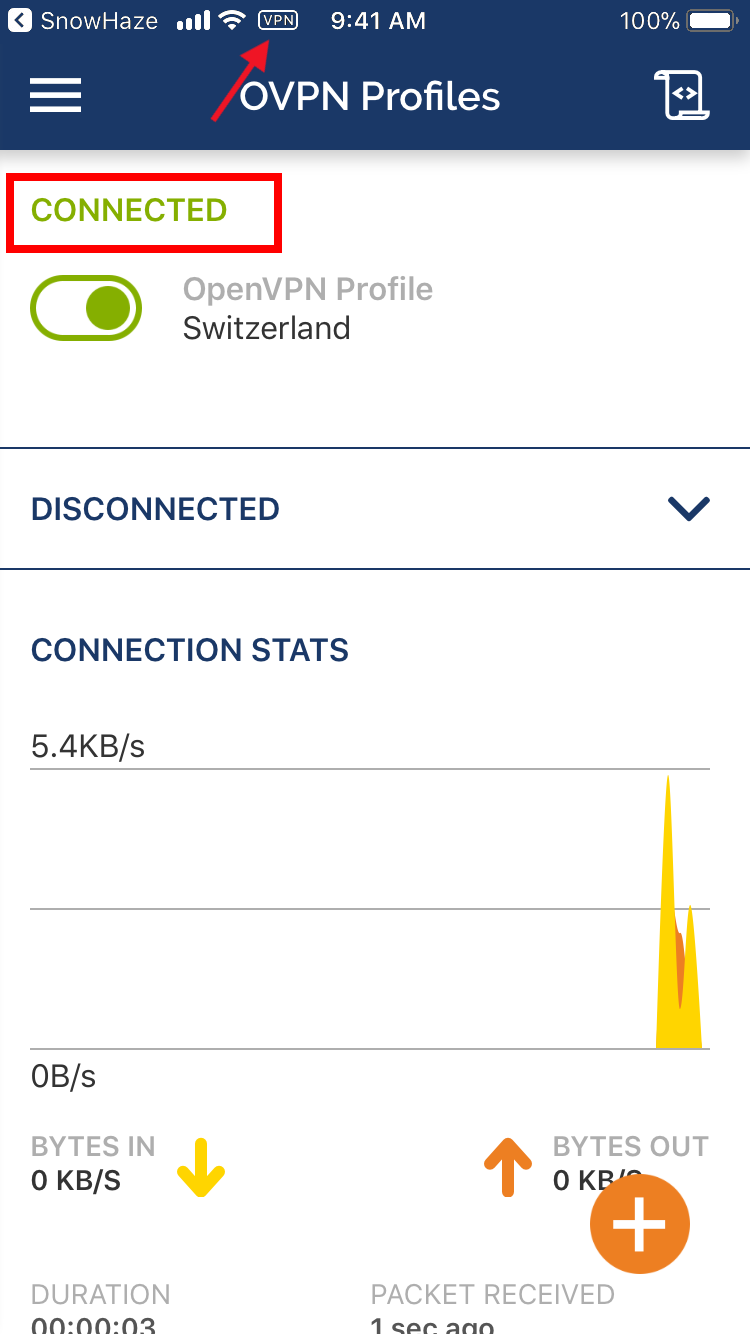
9. Tap on the top left menu and choose settings.
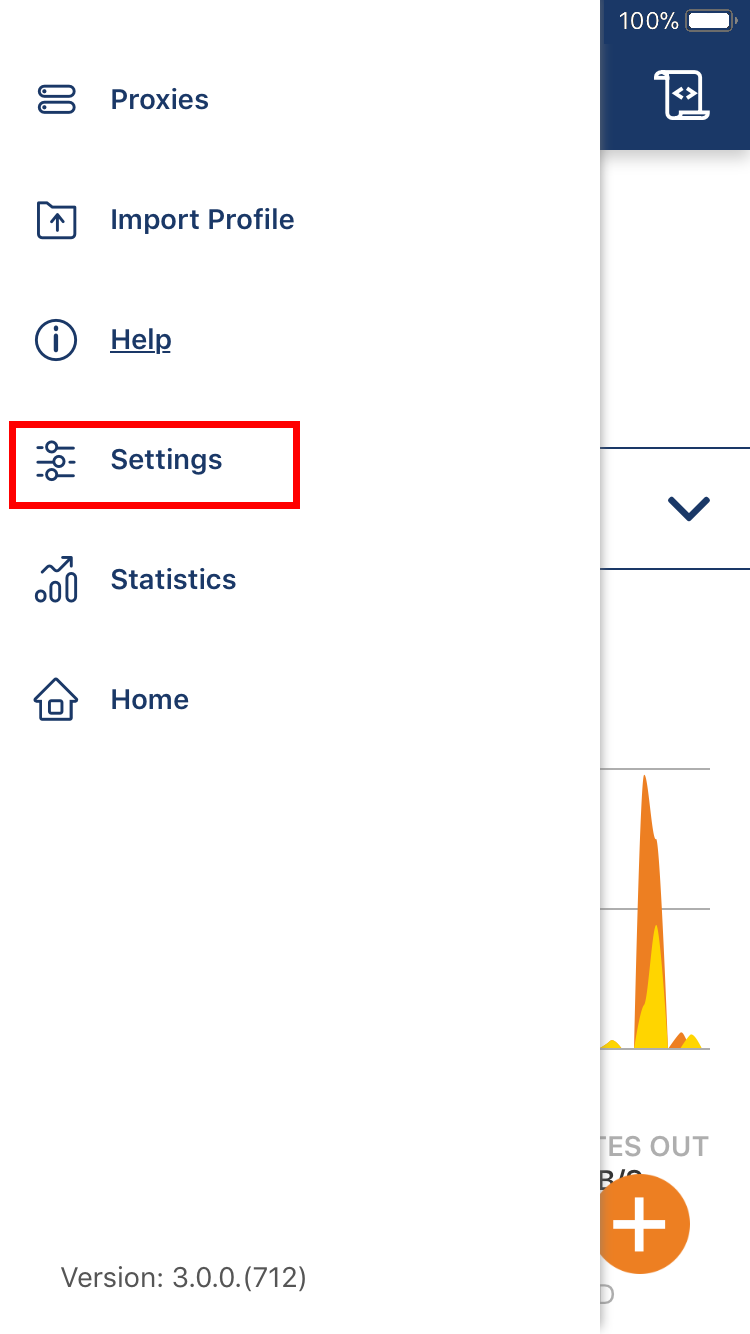
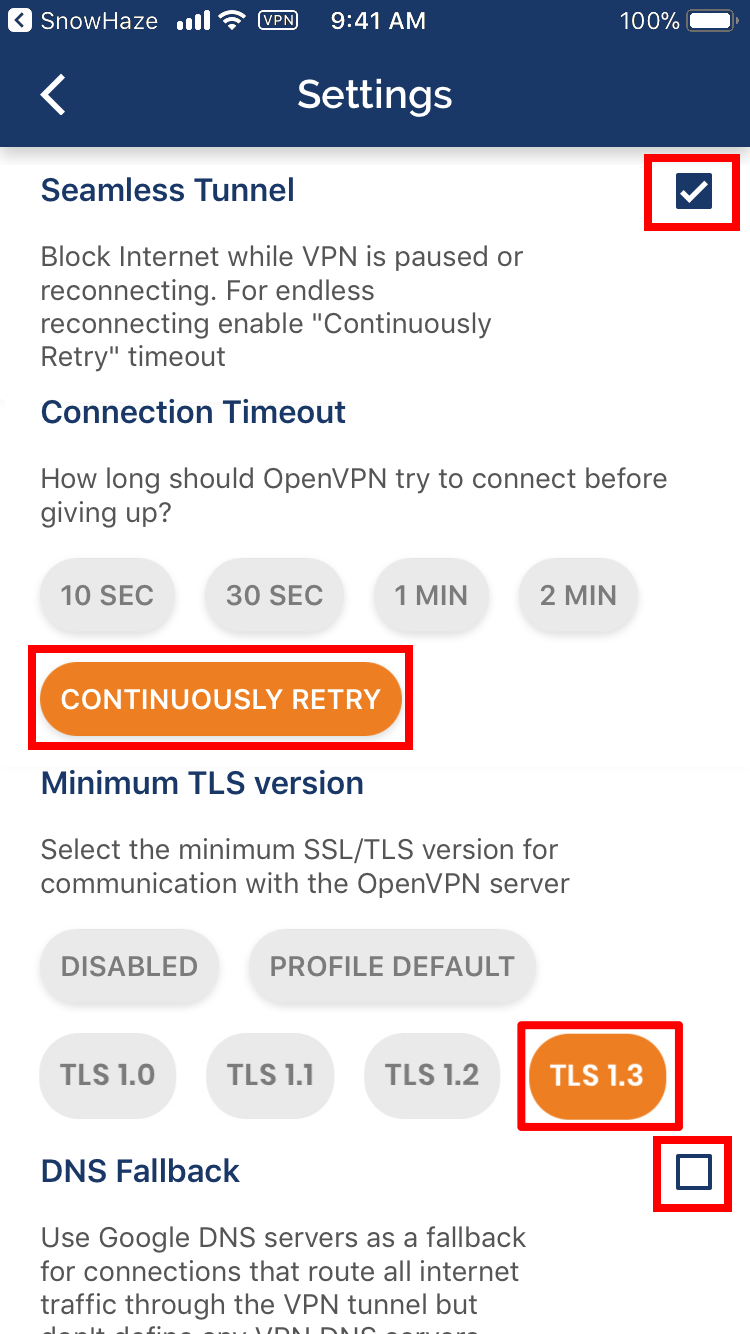
10. Set "Seamless tunnel" to on, "Connection timeout" to "Continuously Retry", "Minimum TLS version" to "TLS 1.3", and "DNS fallback" to off.
1. In your dashboard ( https://dashboard.snowhaze.com ), choose a VPN profile and download it to your Mac.
2. Go to https://tunnelblick.net/downloads.html and choose the latest stable release.
3. Open the .dmg file from your Downloads folder.
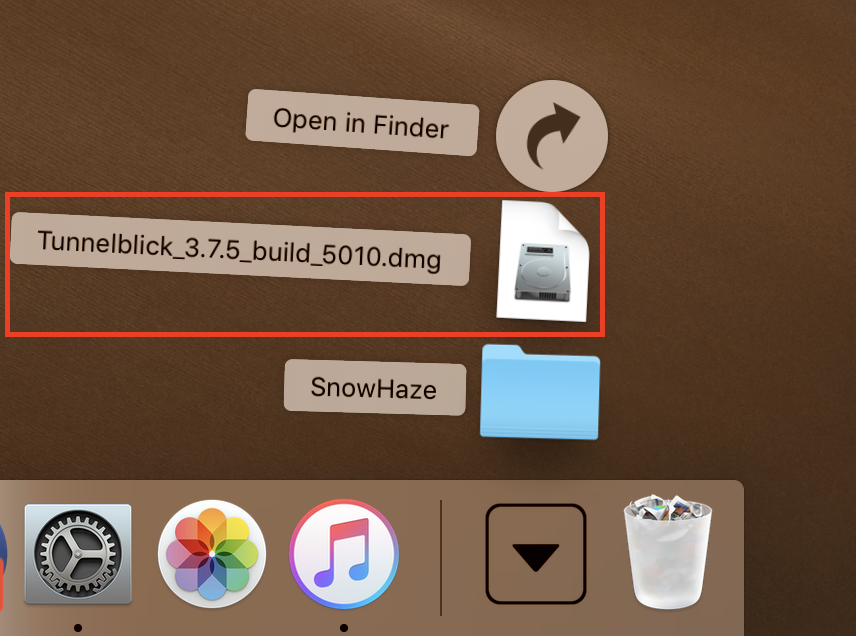
4. Double click on the Tunnelblick icon to start. You might be asked if you trust this application downloaded from the internet. Choose "Open" to continue.
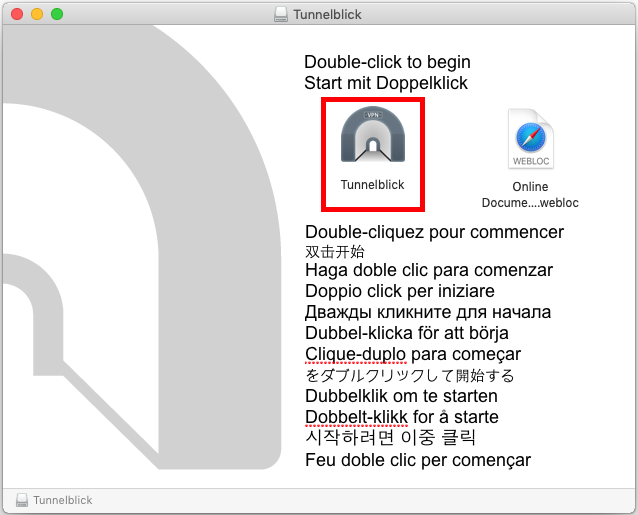
5. Mark the checkboxes and click "Continue".
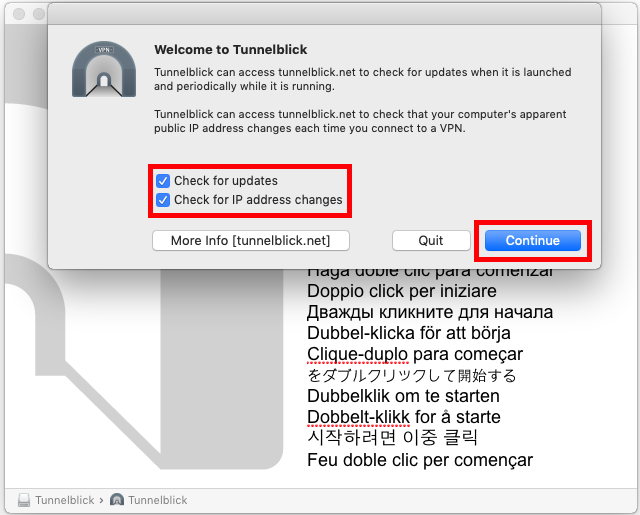
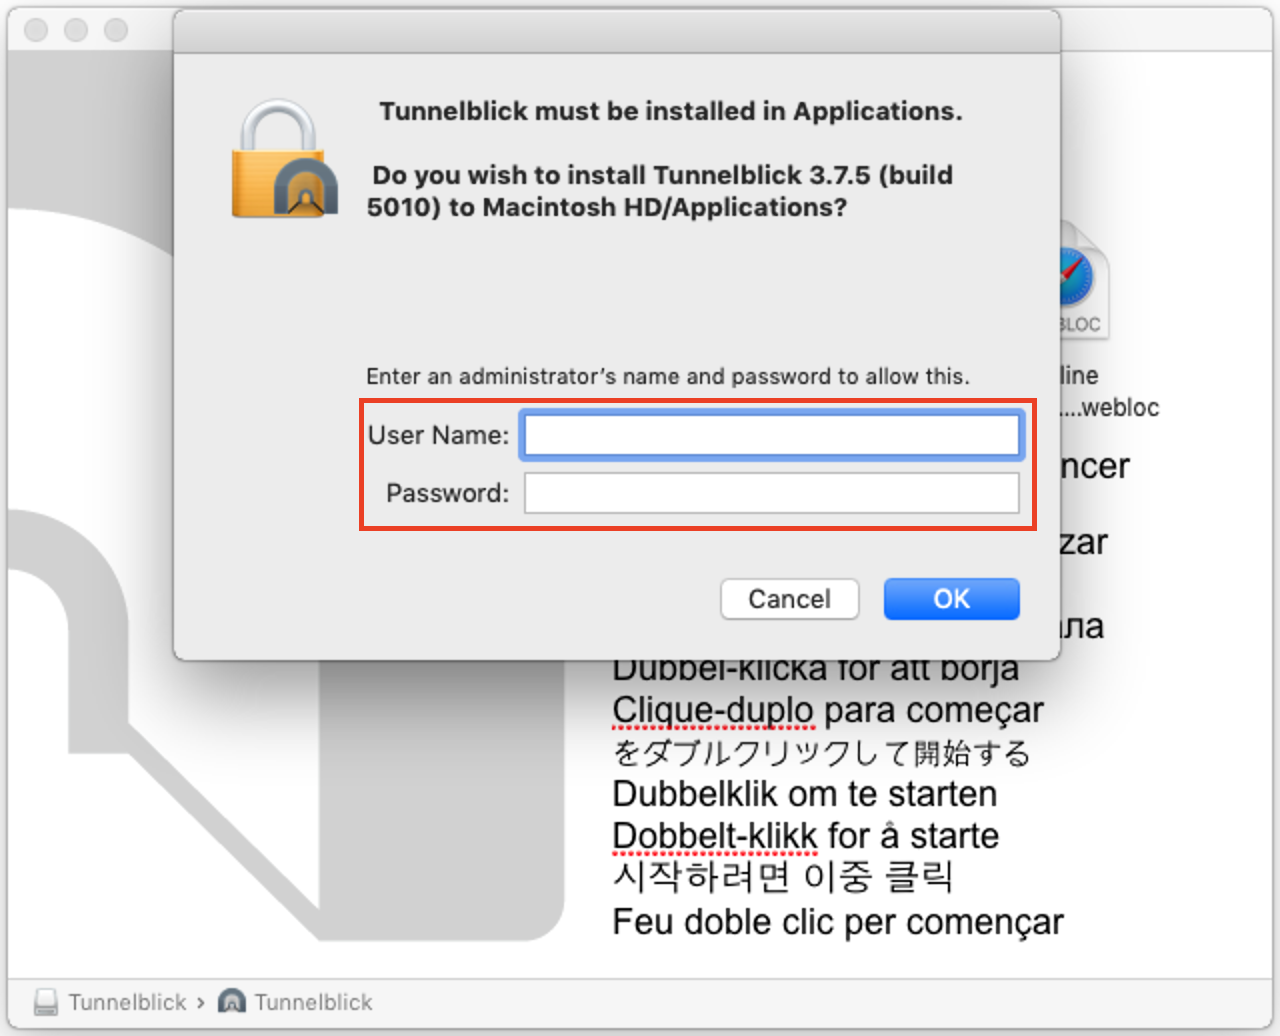
6. Authenticate with the administrator account to install Tunnelblick in the Applications folder.
7. Tunnelblick will start and ask whether you already have configuration files. Choose "I have configuration files".

8. An explanation on how to add configuration files appears. Click "OK".
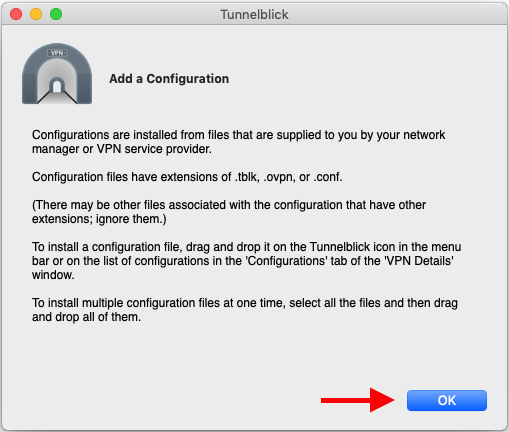
9. The Tunnelblick icon will appear in your status bar.

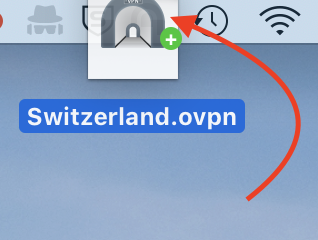
10. Drag and drop the downloaded profile onto the Tunnelblick icon in the status bar. You might be asked to authenticate again to add the profile.
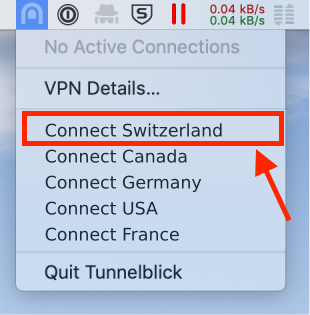
11. By clicking on the icon you see all the installed profiles. Choose one to connect.
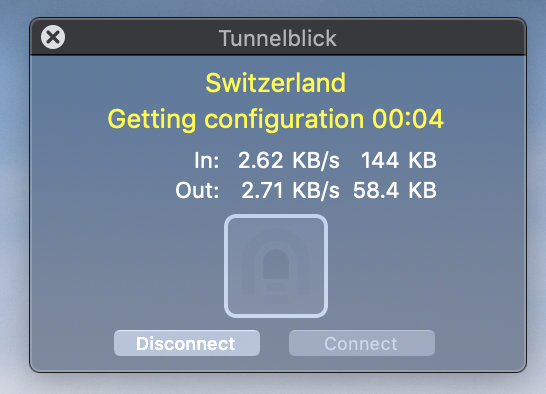
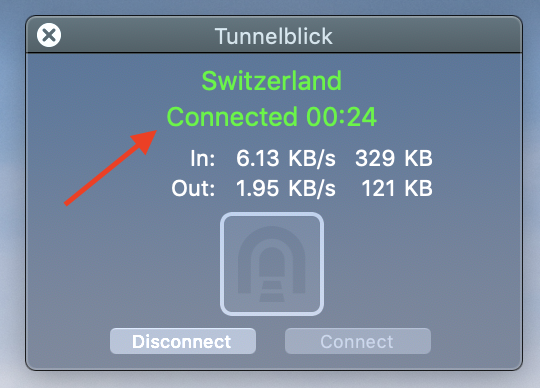
12. Tunnelblick is connecting and will display "Connected" when the connection is establish. Now you're protected. You can repeat the steps above to add other profiles to Tunnelblick.
1. In your dashboard ( https://dashboard.snowhaze.com ), choose a VPN profile and download it to your device.
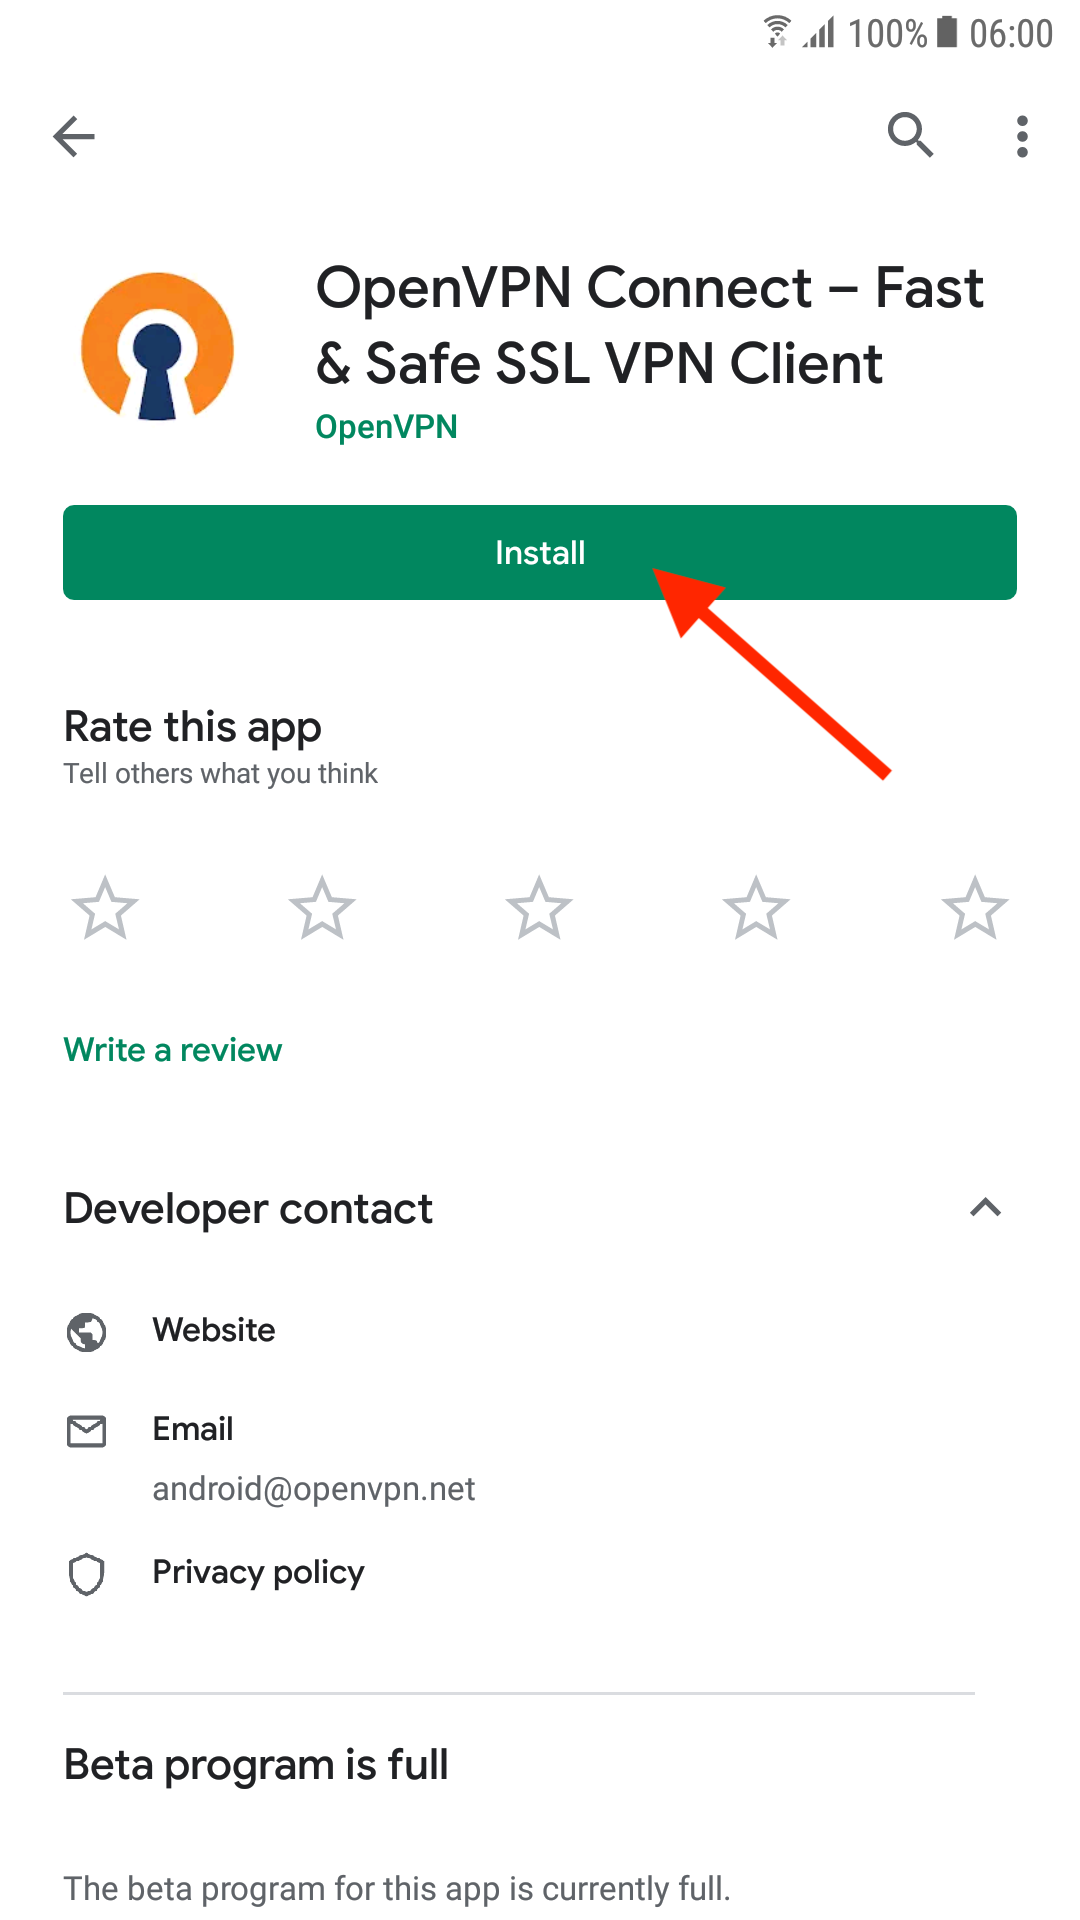
2. Download OpenVPN Connect from the Google Play Store ( https://play.google.com/store/apps/details?id=net.openvpn.openvpn )
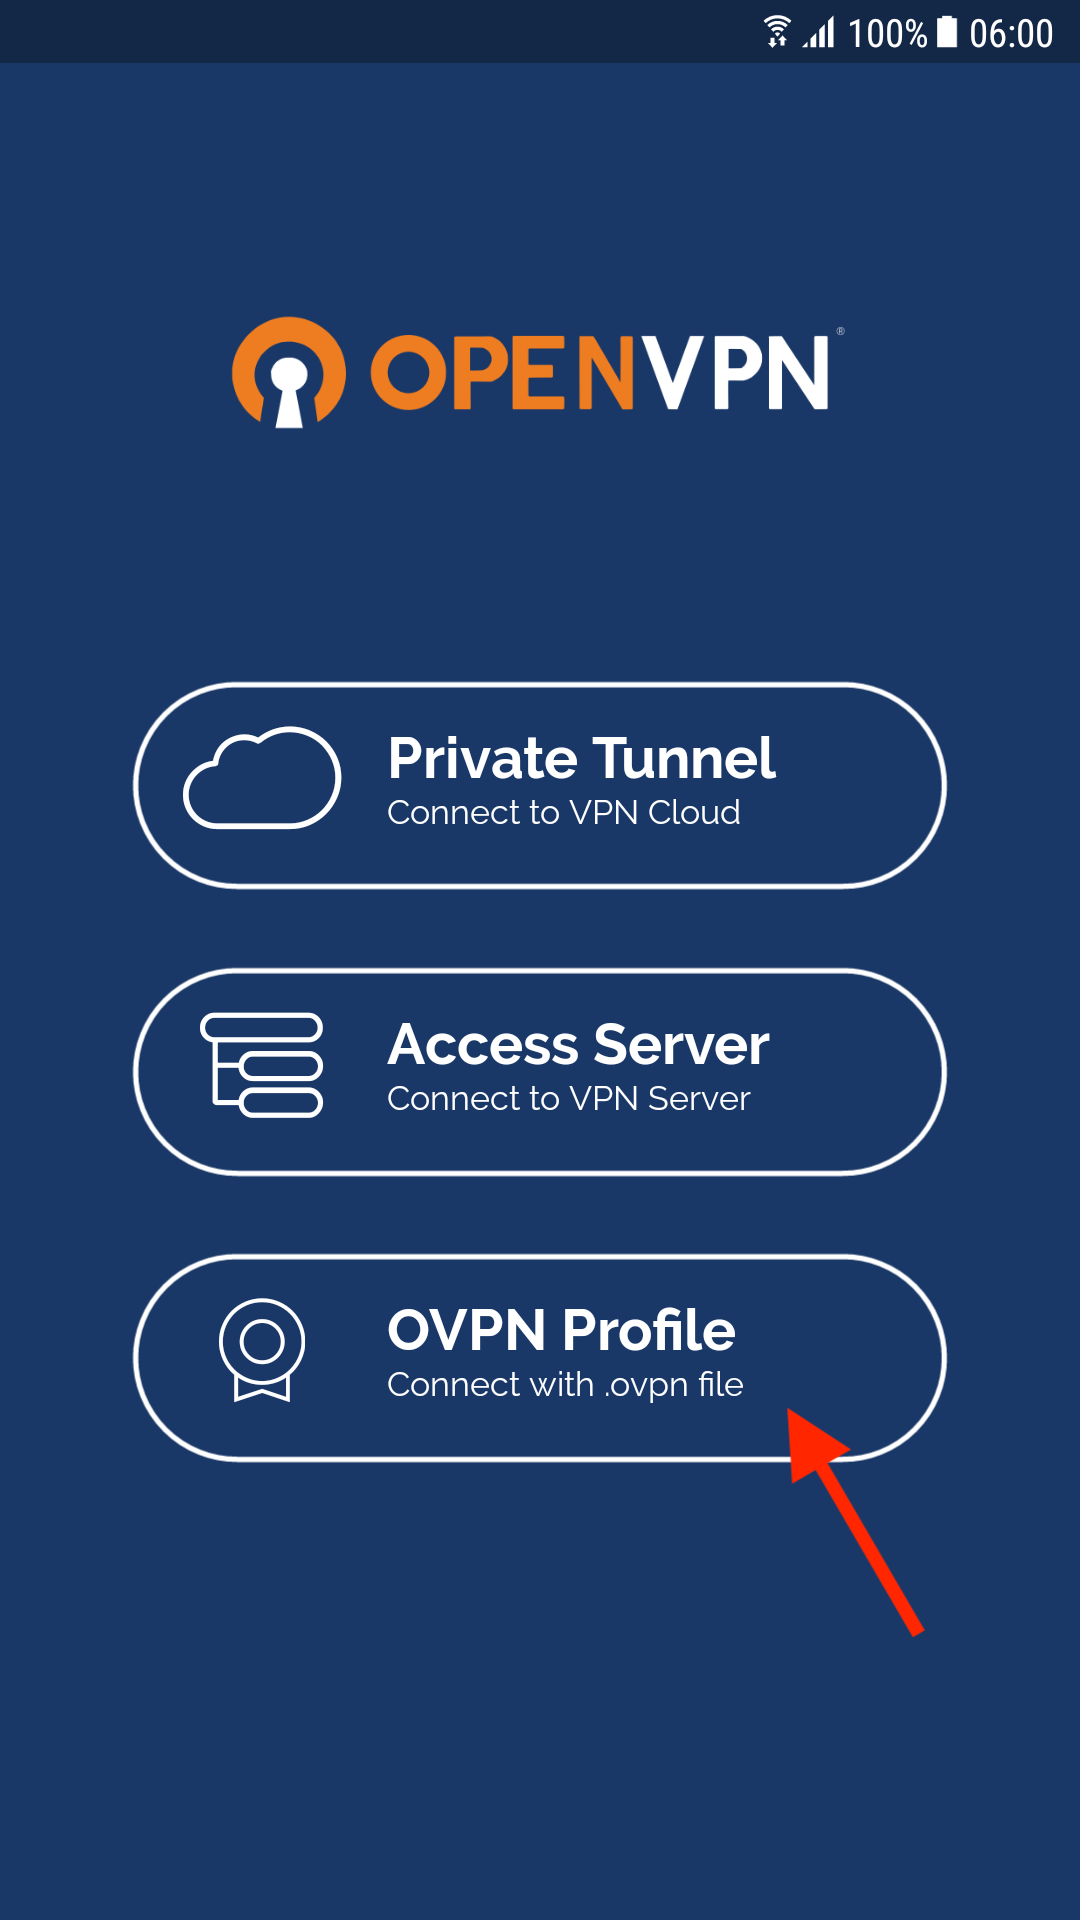
3. Open OpenVPN Connect and choose the option to use a VPN profile.
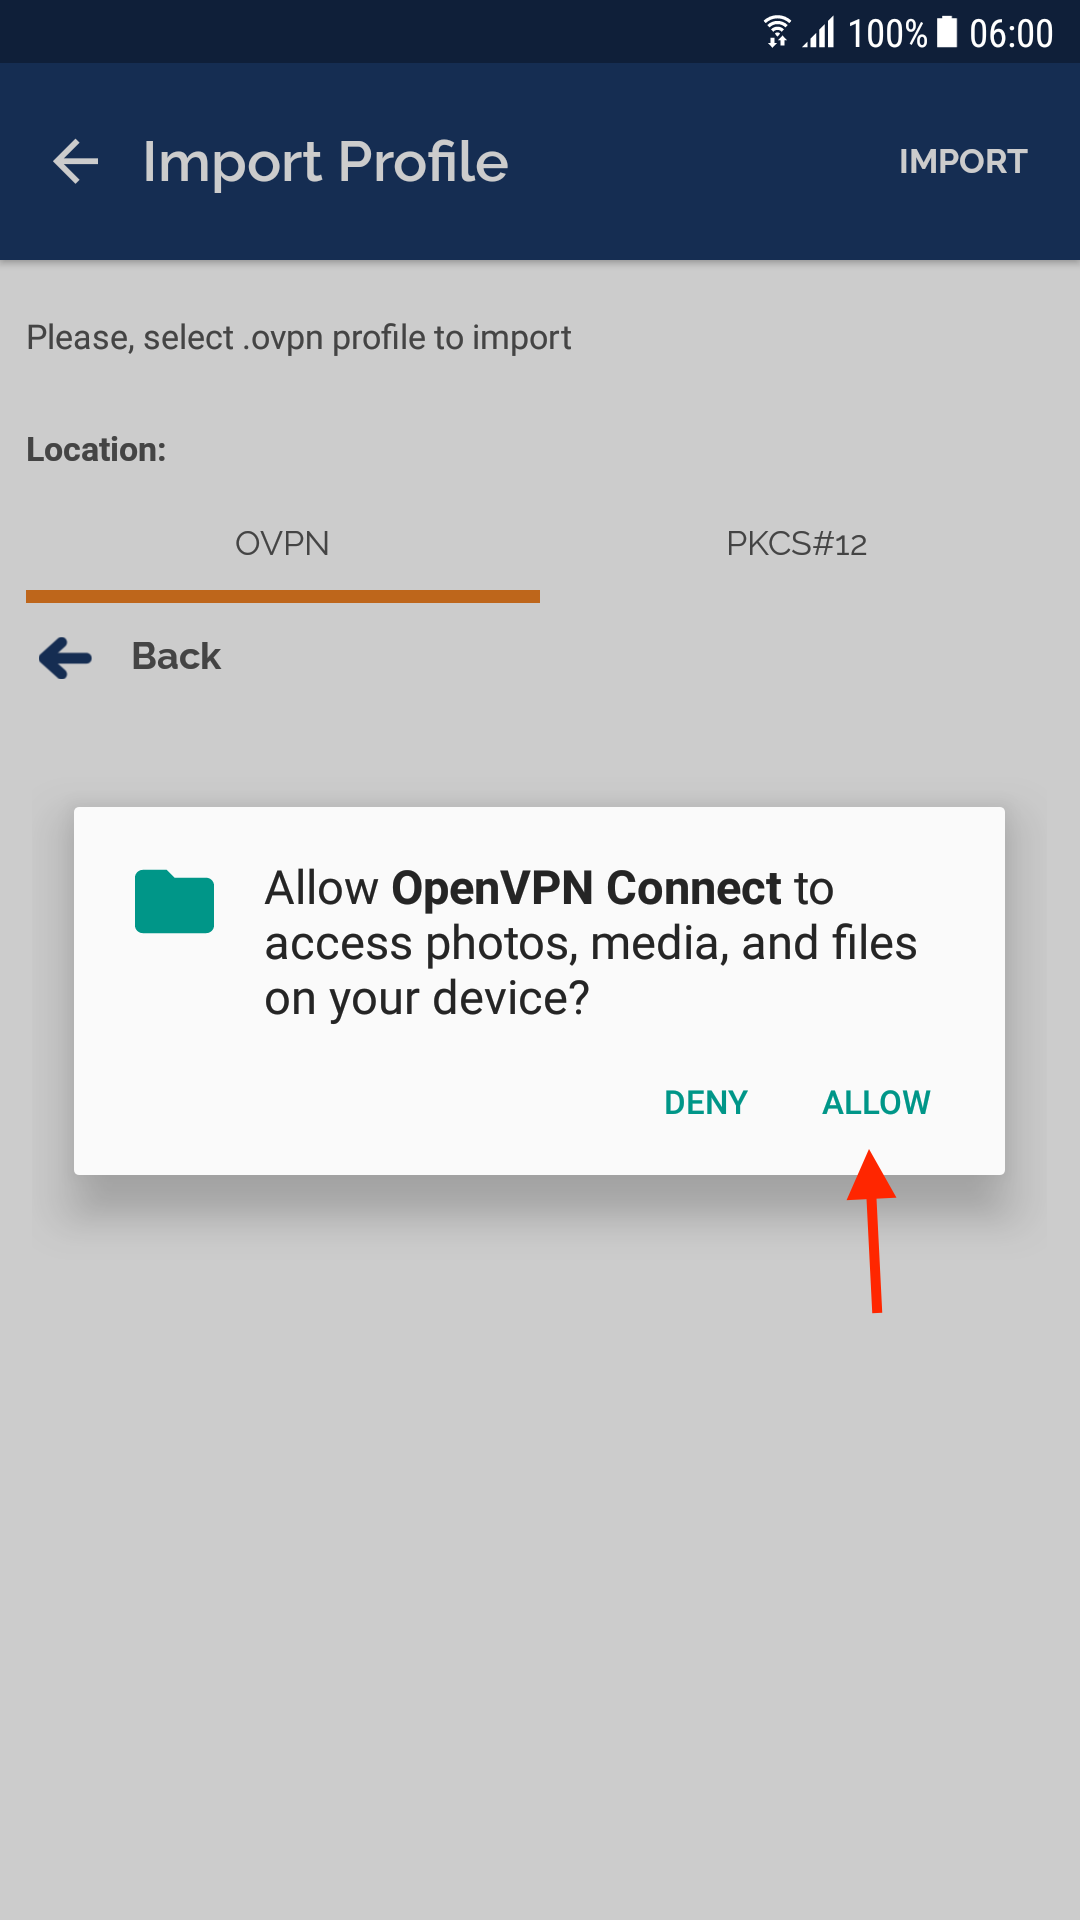
4. Allow OpenVPN Connect to access you files.
5. Find the VPN profile that you have downloaded and stored in step 1 and tap on "Import".
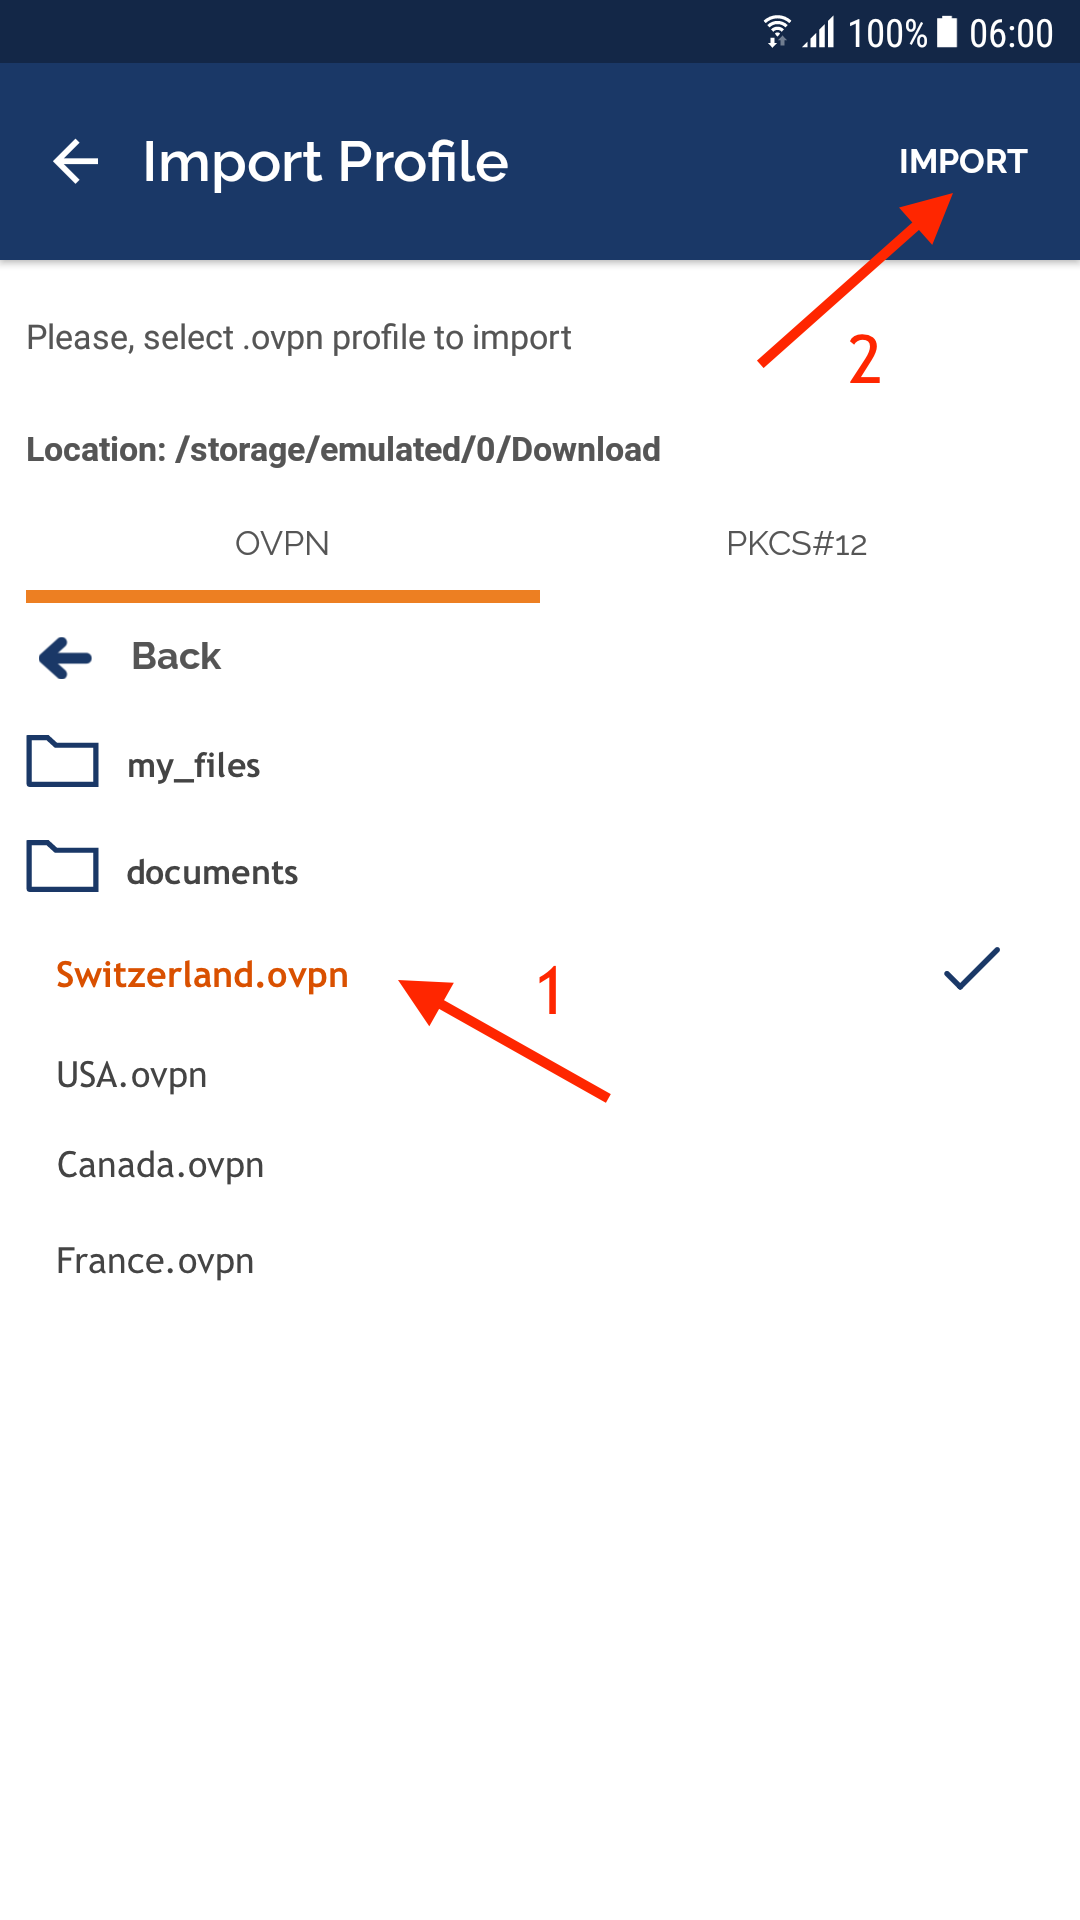
6. Choose to add the profile.
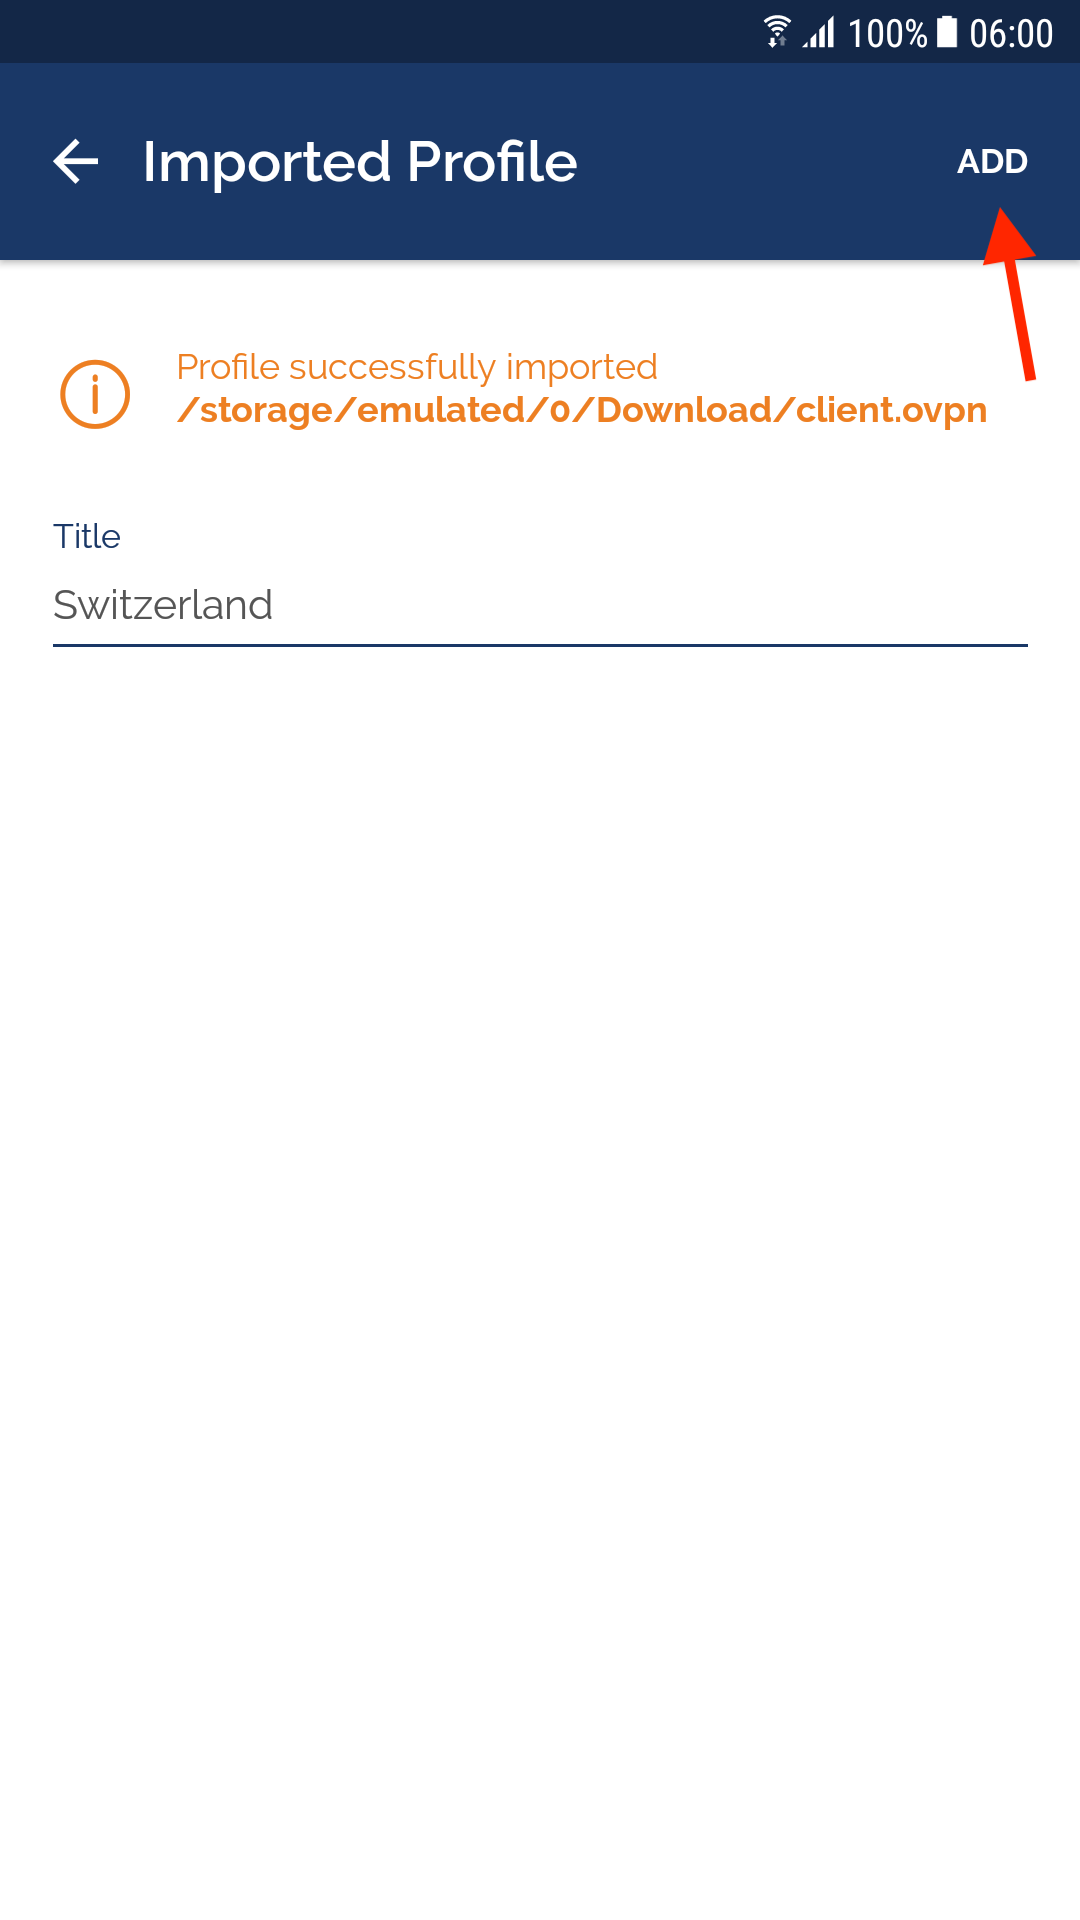
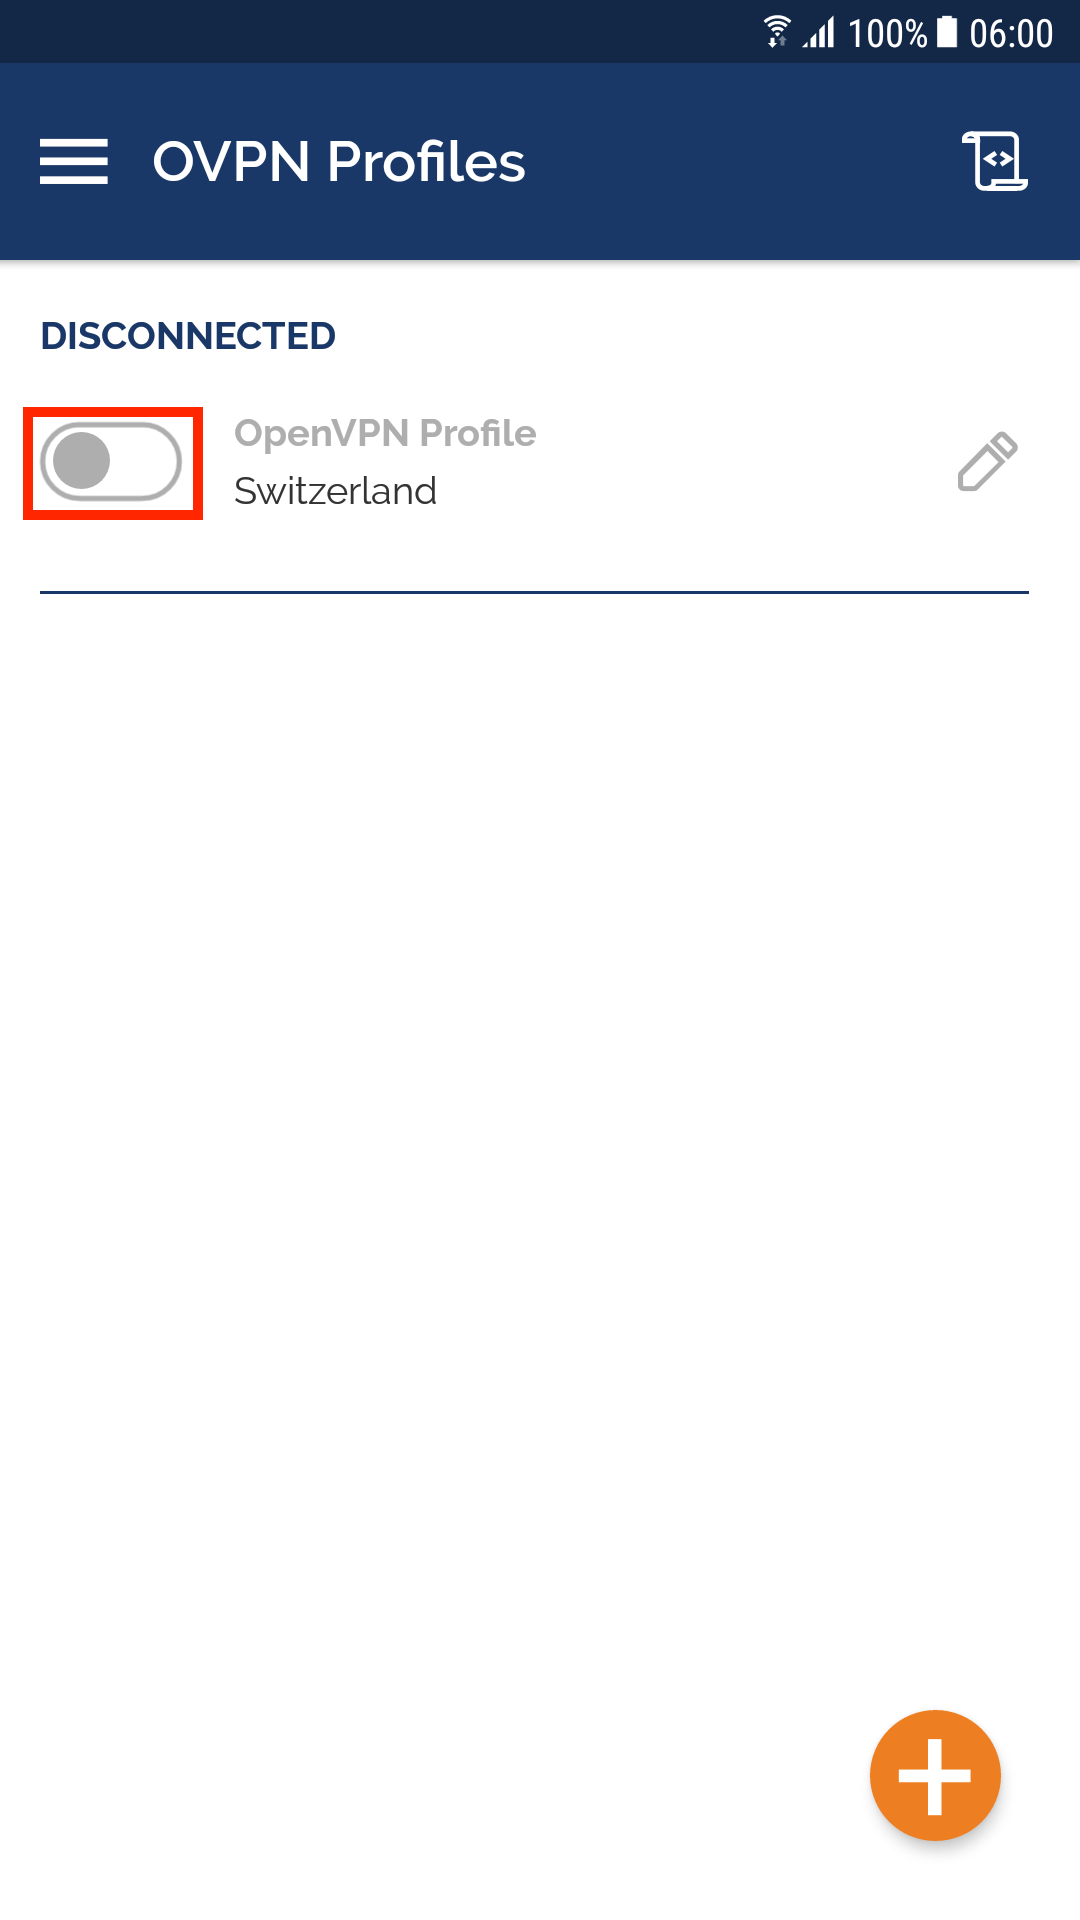
7. Turn on the connection to the VPN server.
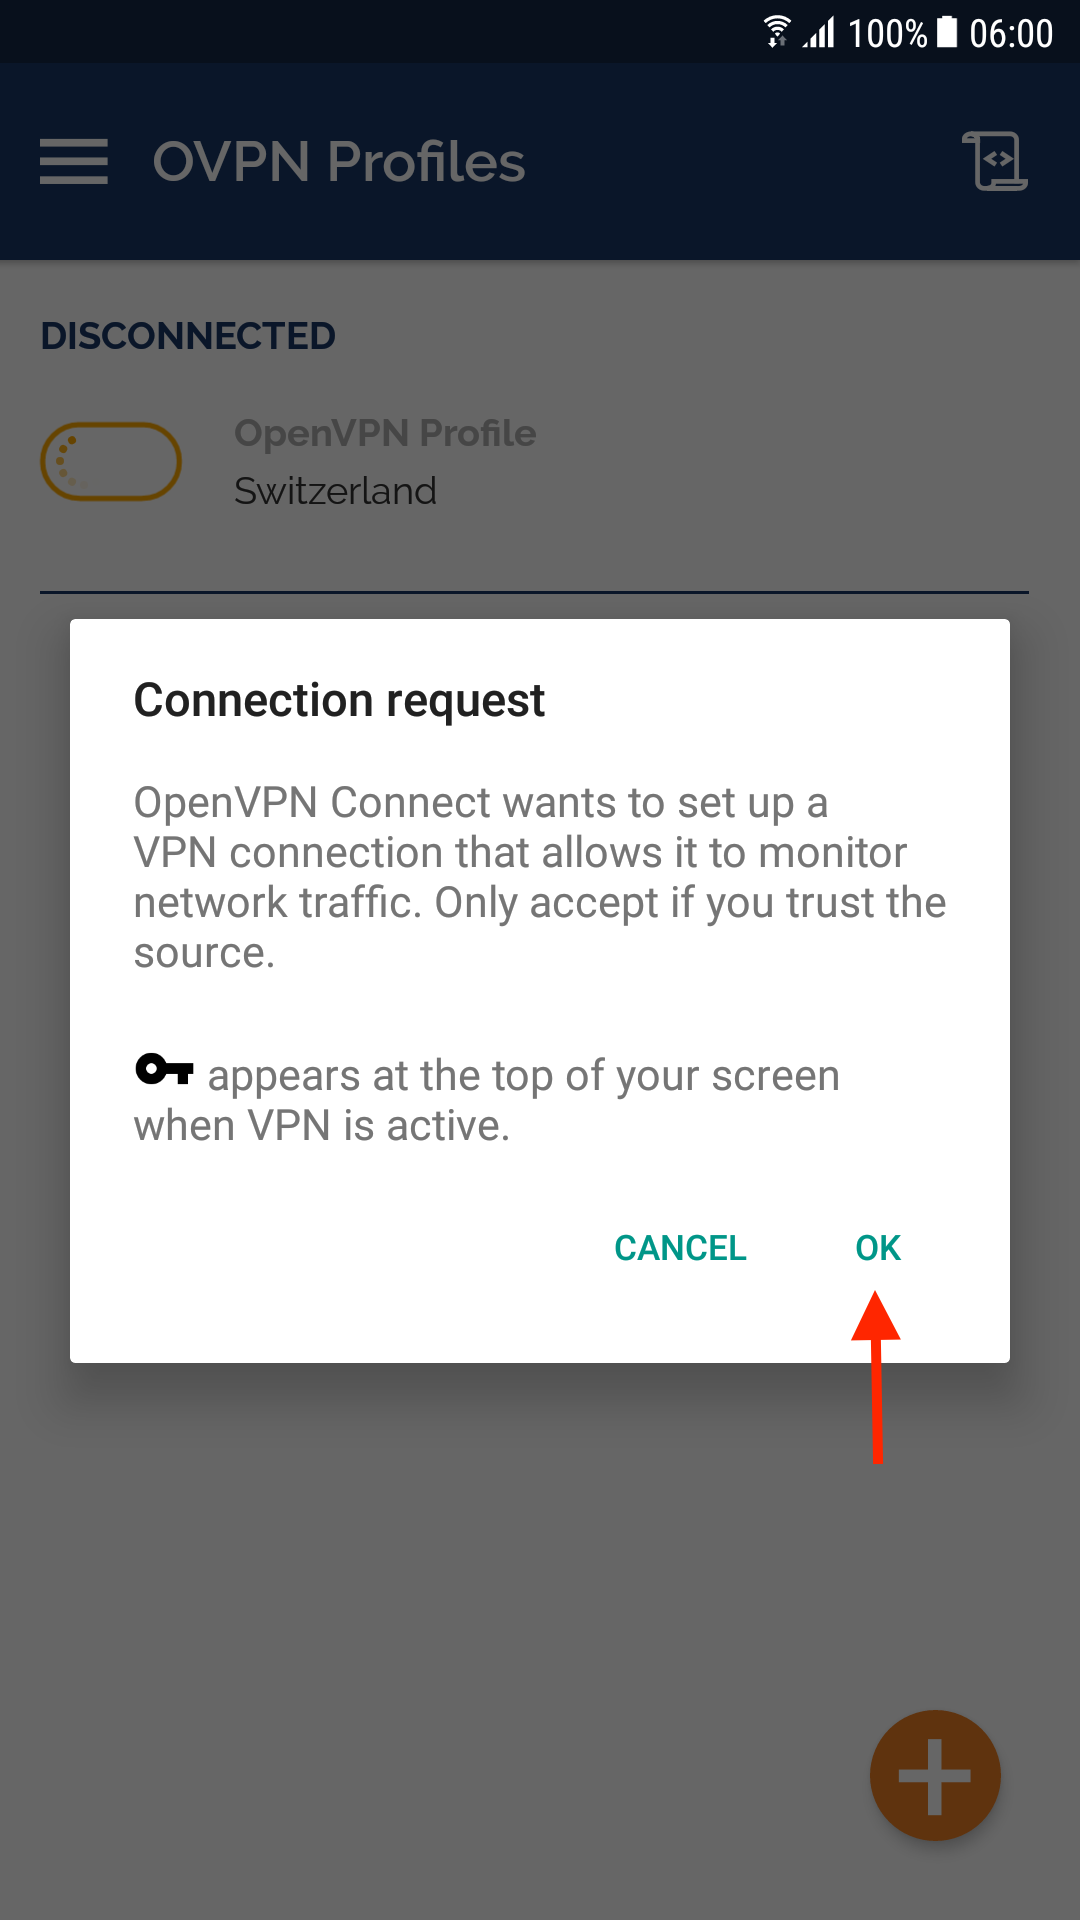
8. Allow OpenVPN to create VPN connections.
9. Congratulations, you are now connected and your connection is encrypted. You see a VPN icon in your status bar whenever you are connected. You can add multiple locations by repeating the steps above.
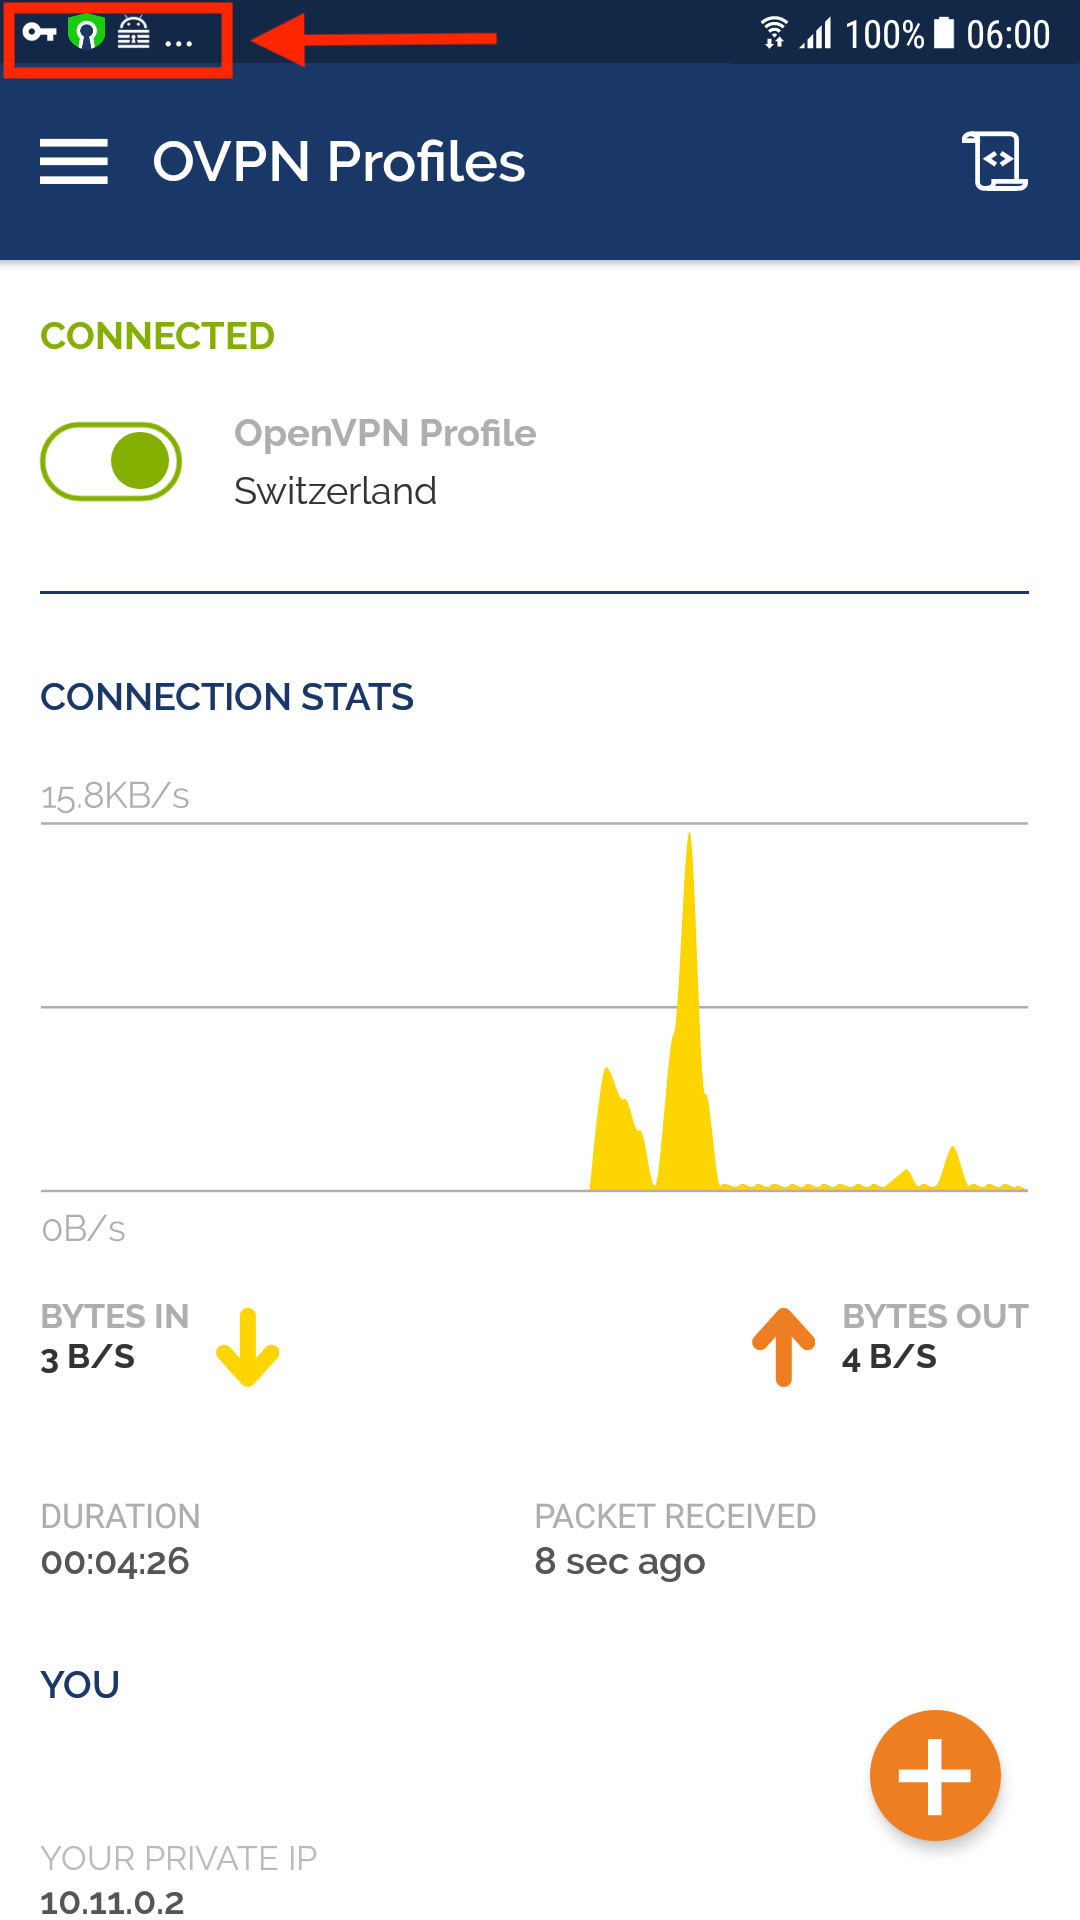
10. When replacing a connection, an alert tells you that the import failed. Choose to replace the existing profile with the new one.
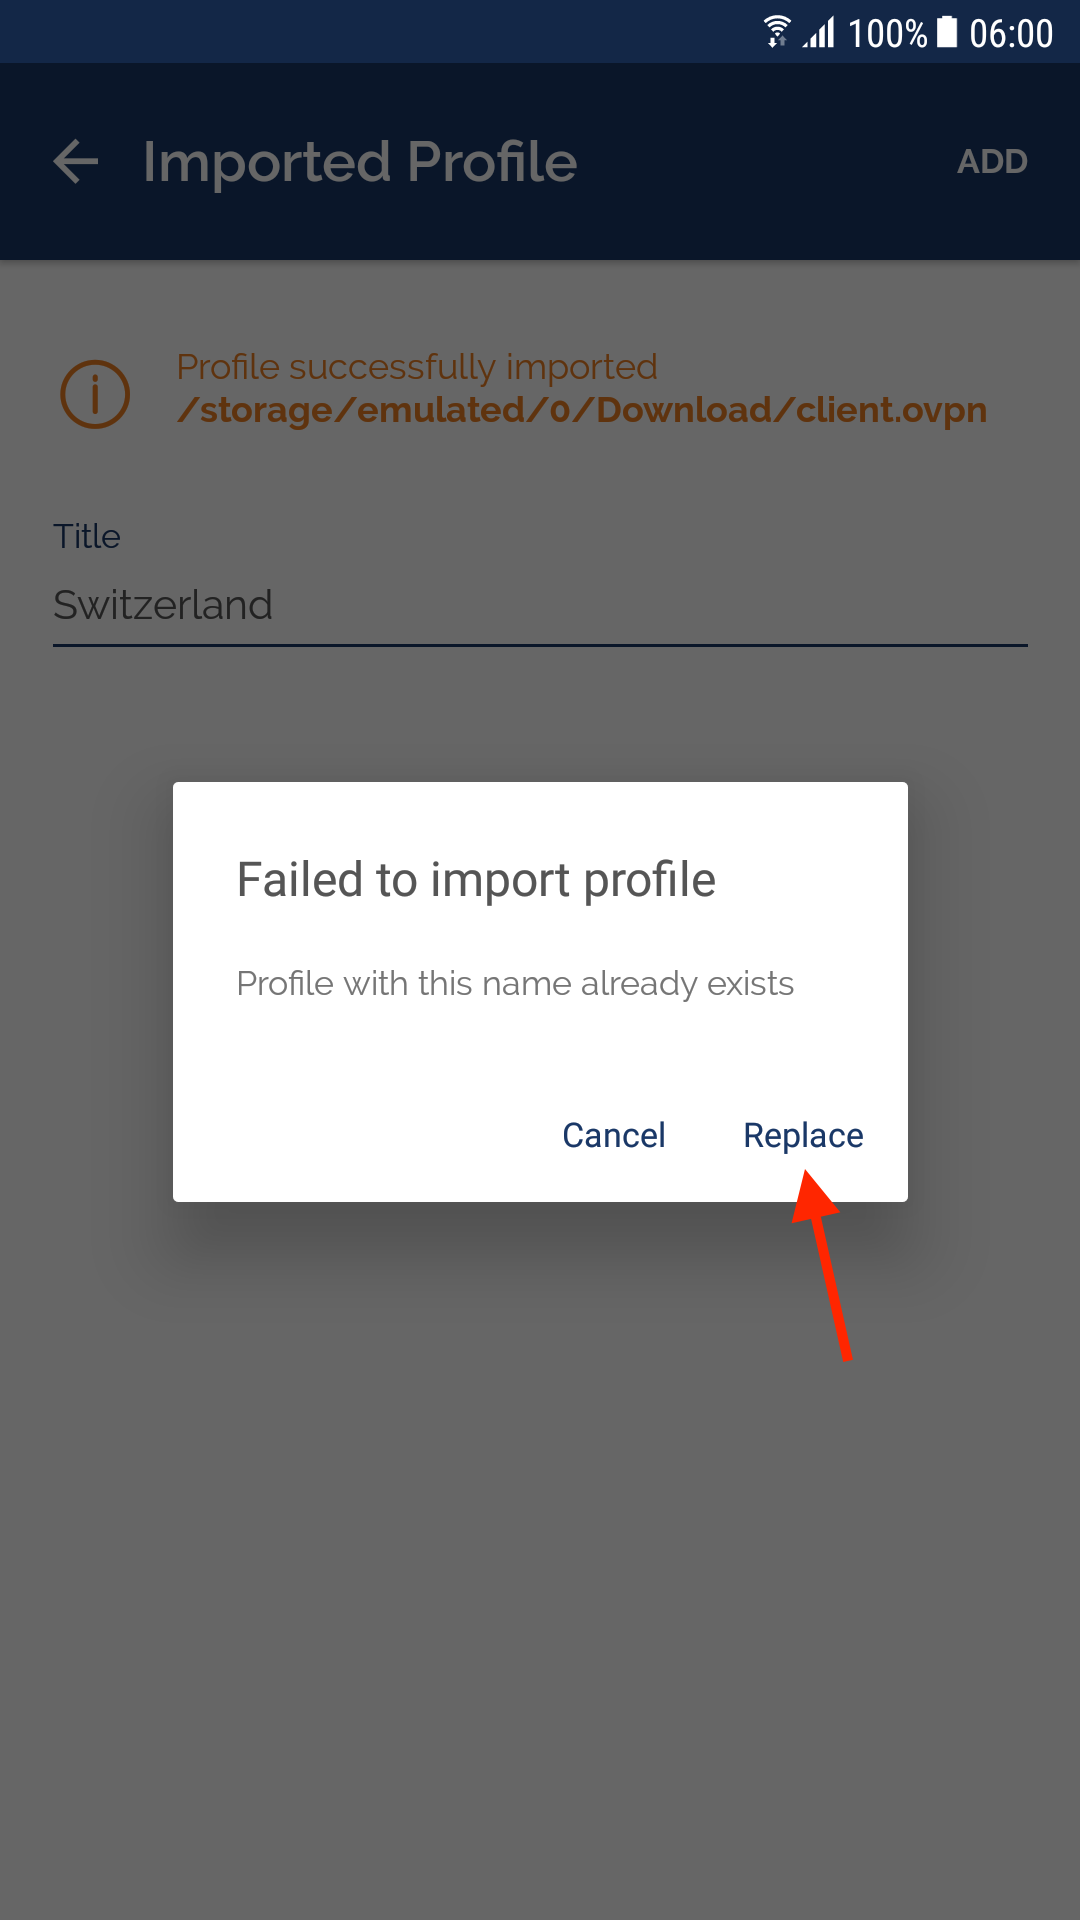
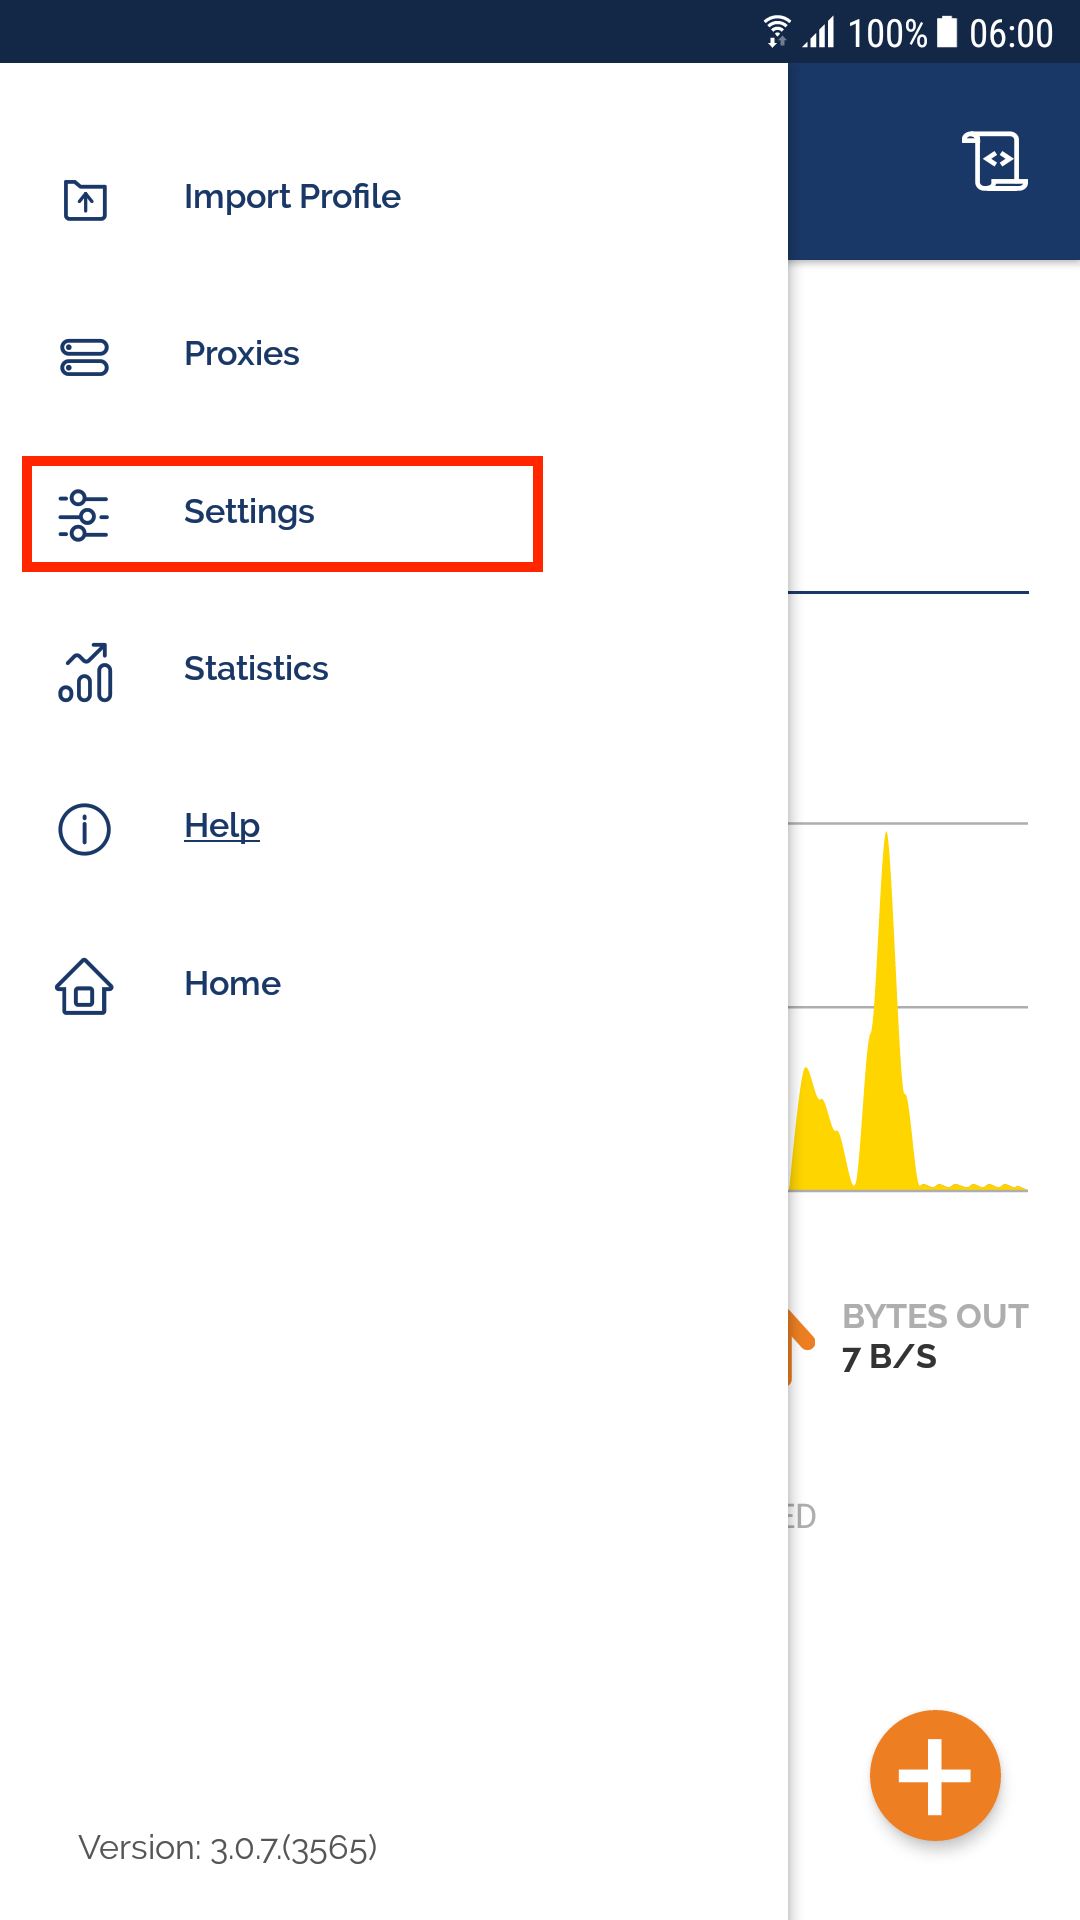
11. Tap on the top left menu and choose settings. Set "Seamless tunnel" to on, "Connection timeout" to "Continuously Retry", "Minimum TLS version" to "TLS 1.3", and "DNS fallback" to off.
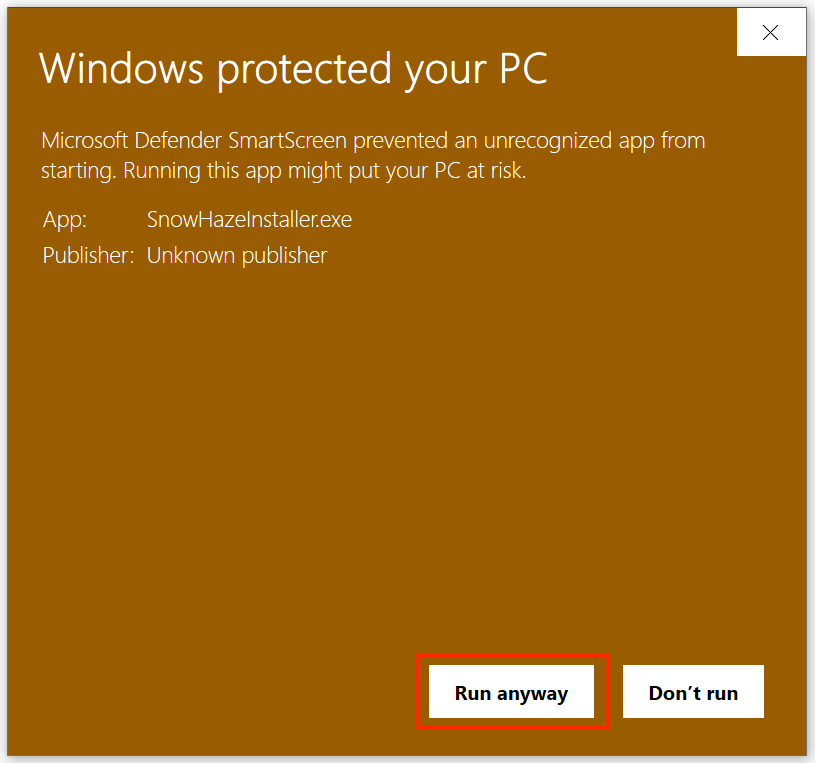
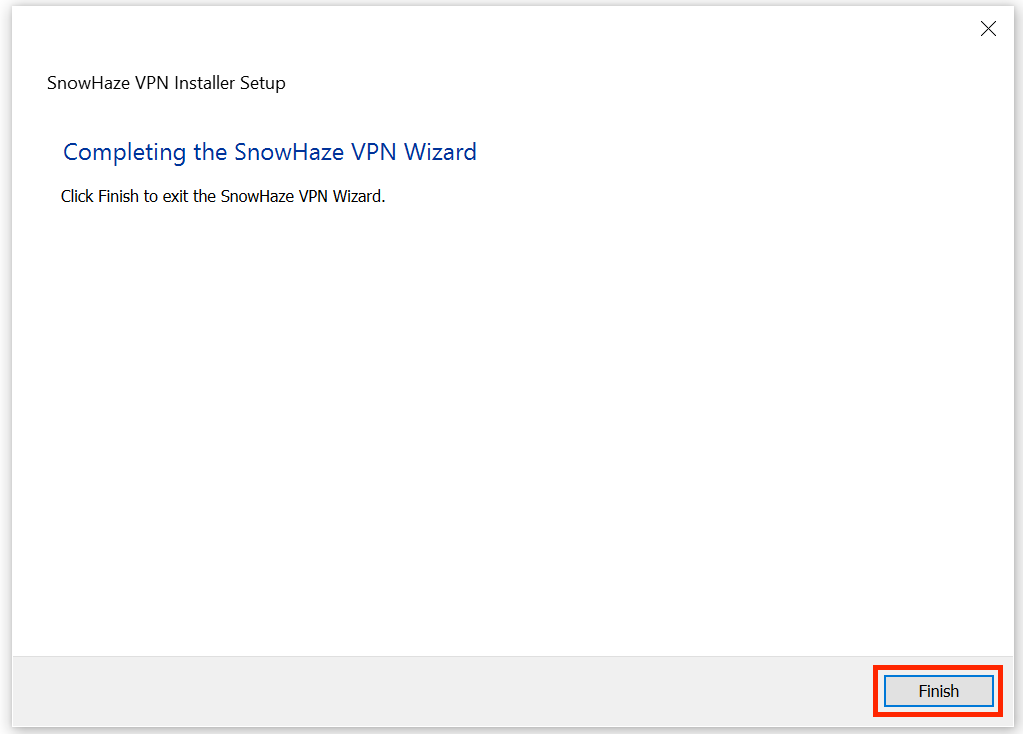
To use the VPN on your Windows PC, you will need two applications, the SnowHaze VPN Client and OpenVPN GUI. Download and install the SnowHaze VPN Client here: SnowHaze VPN Client
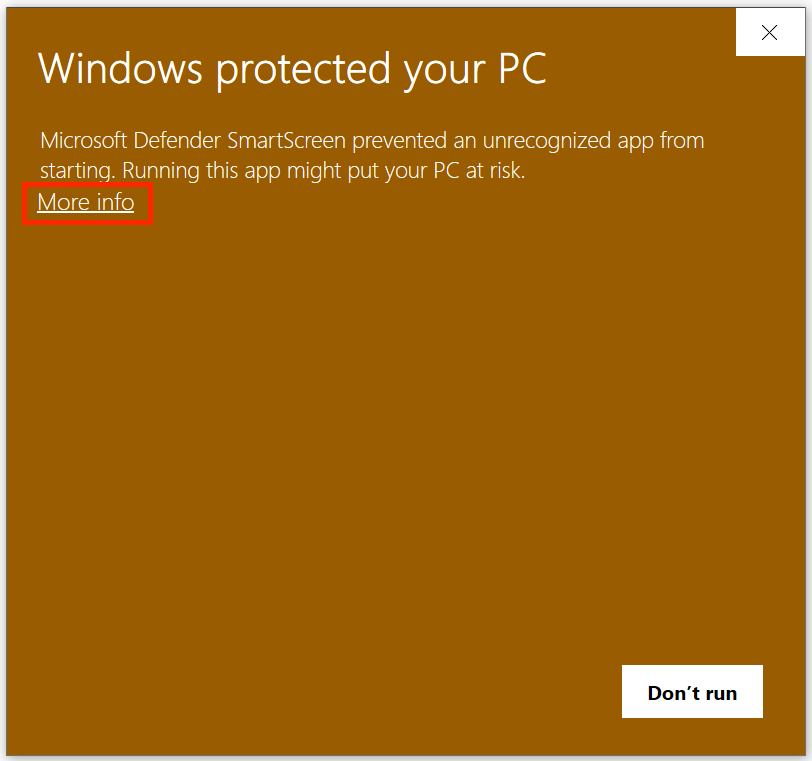
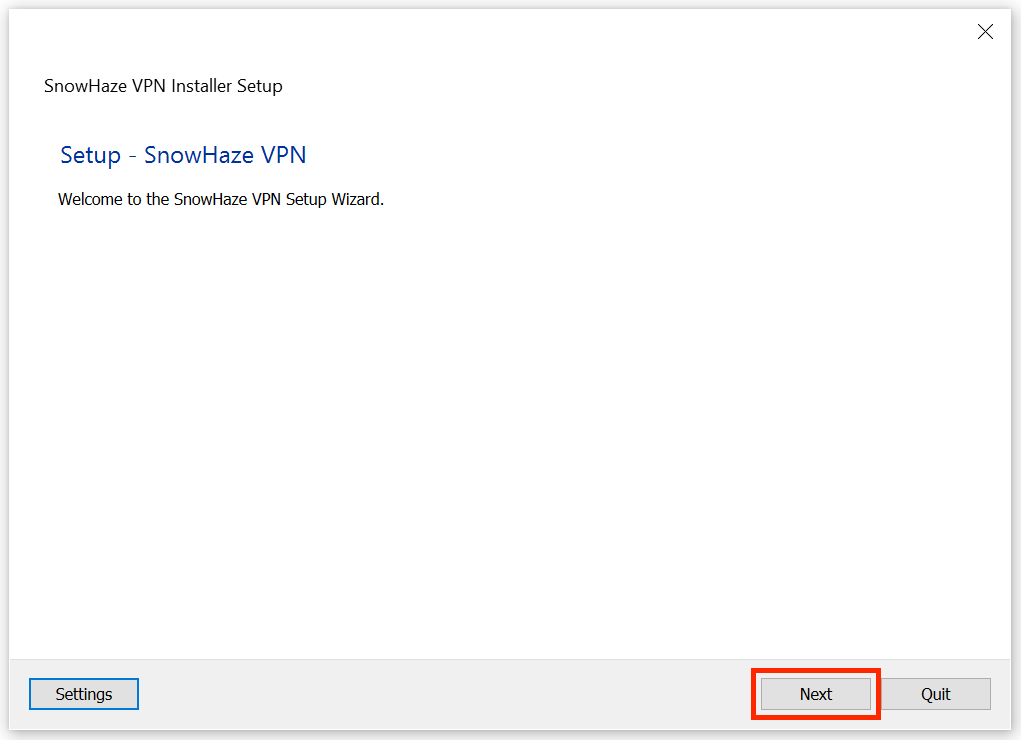
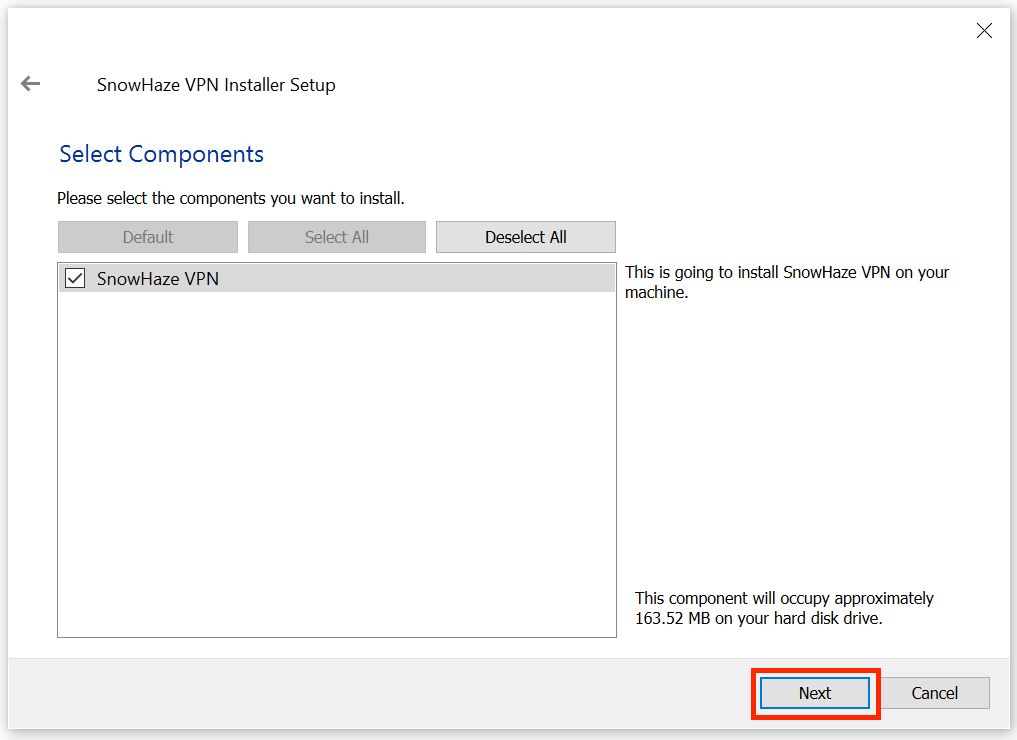
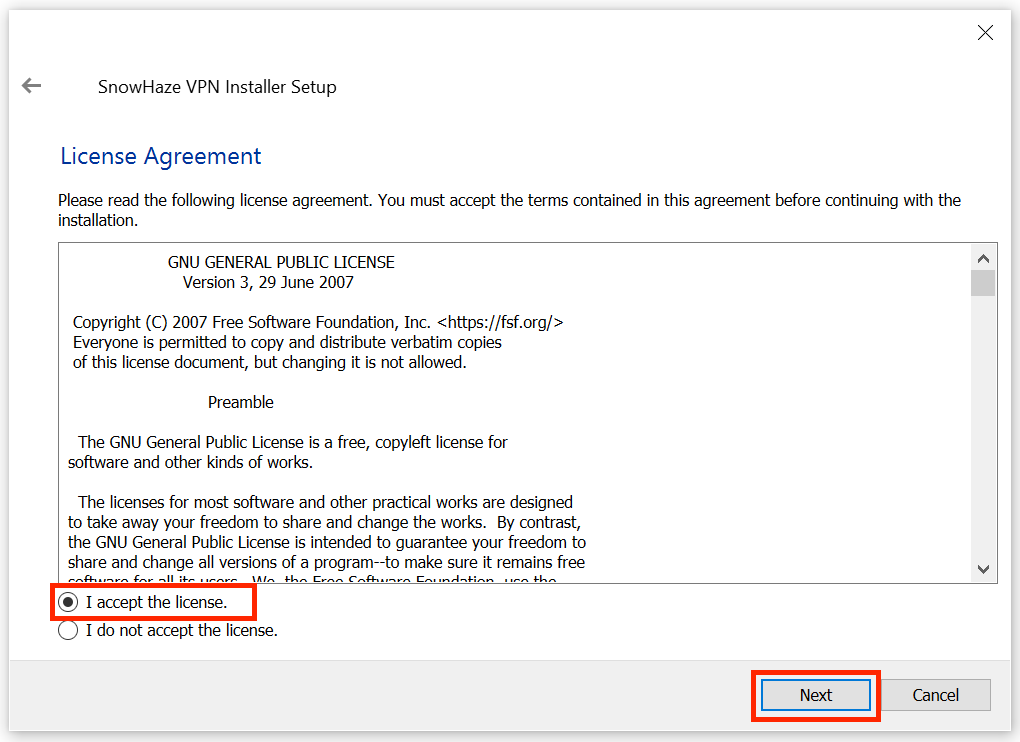
1. Open the .exe file from your Downloads folder and allow it to make changes to your device.

Then, step through the installer.
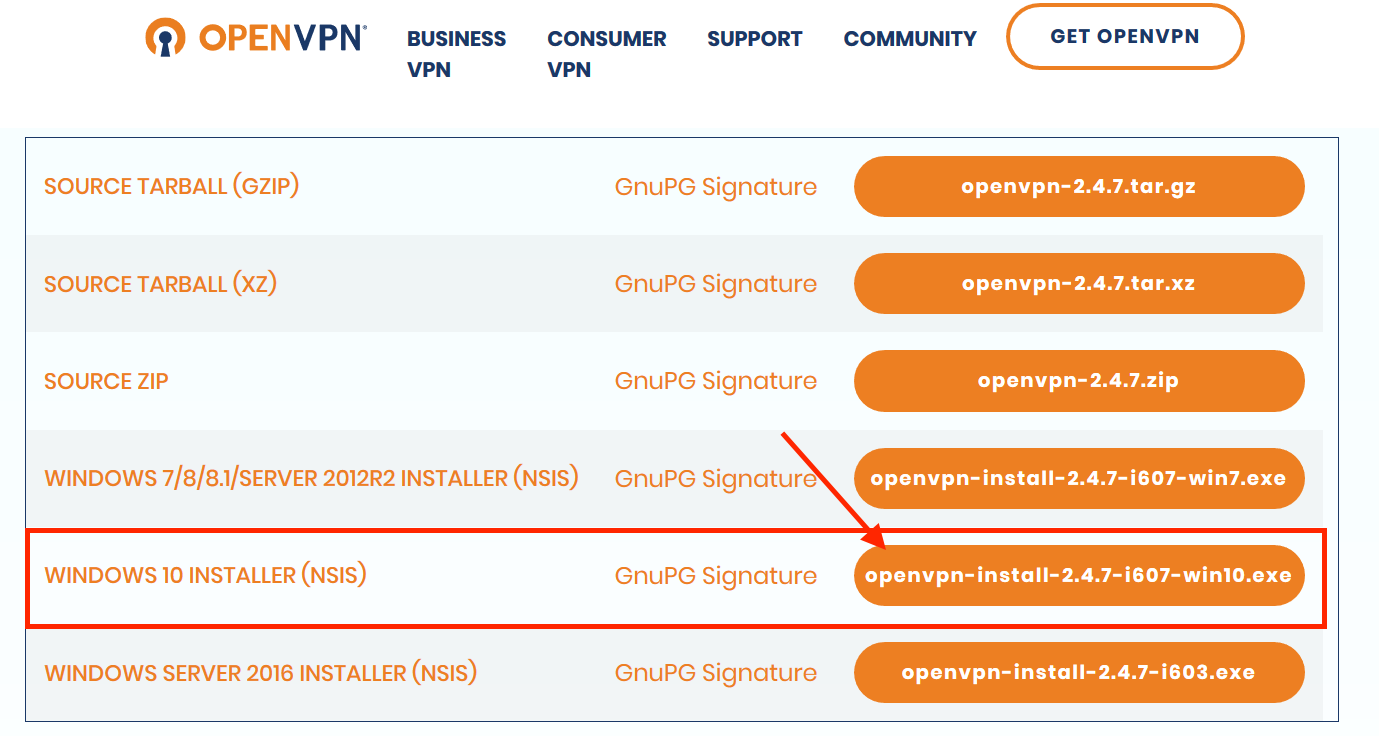
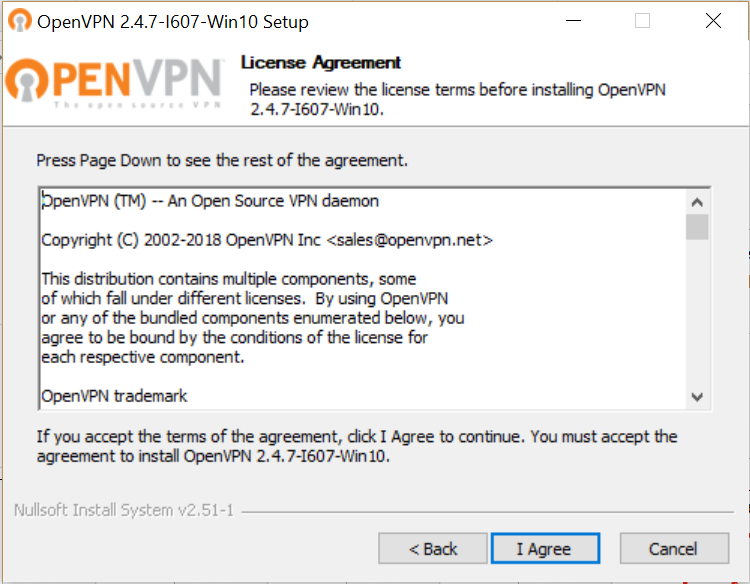
2. Install the OpenVPN GUI by going to https://openvpn.net/community-downloads/ , and choosing the latest stable release.
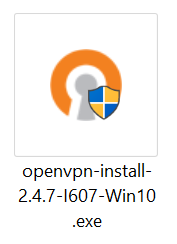
3. Open the .exe file from your Downloads folder and allow it to make changes to your device.
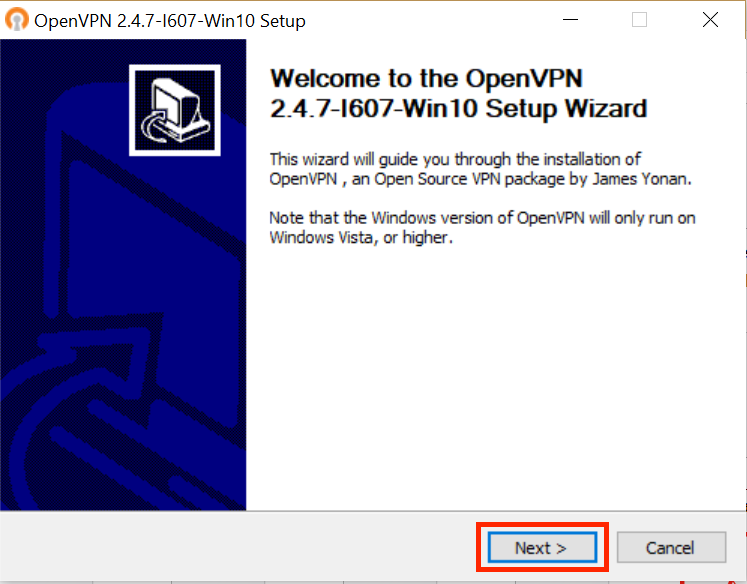
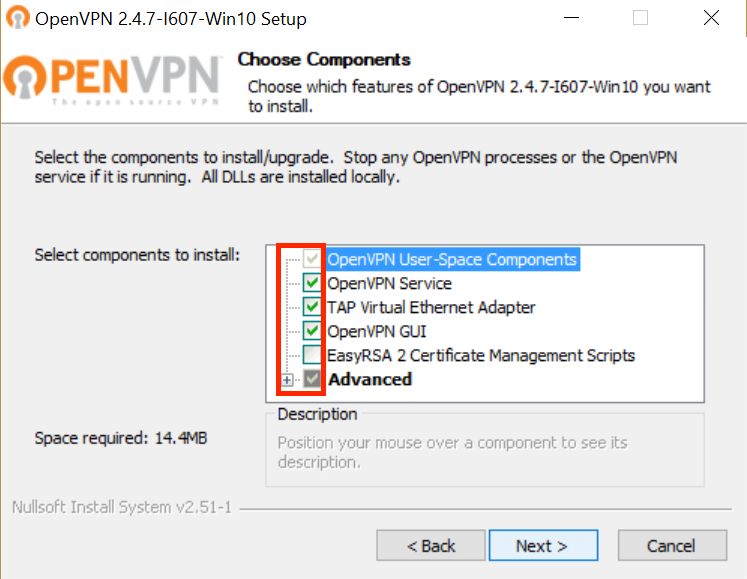
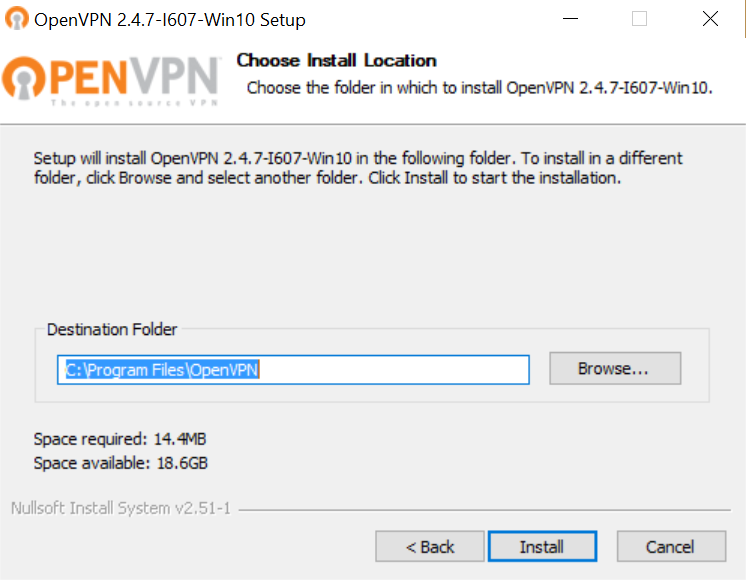
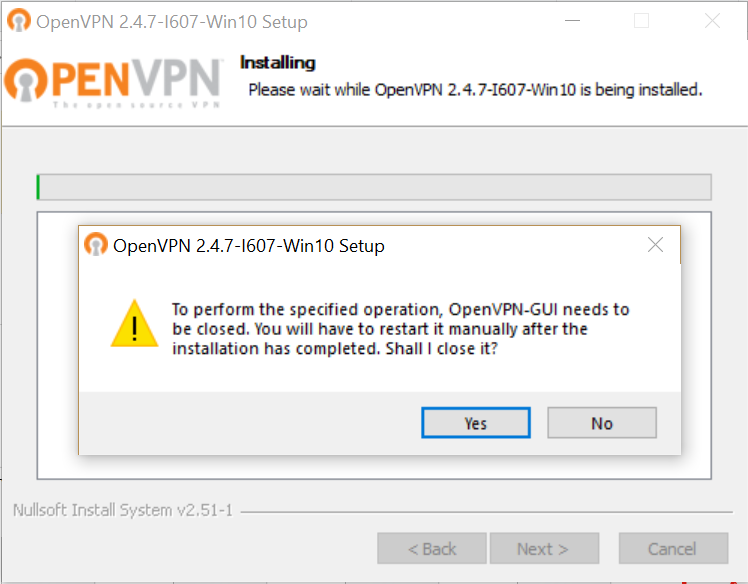
4. Step through the installer. Make sure to keep the suggested checkboxes checked and complete the installation.

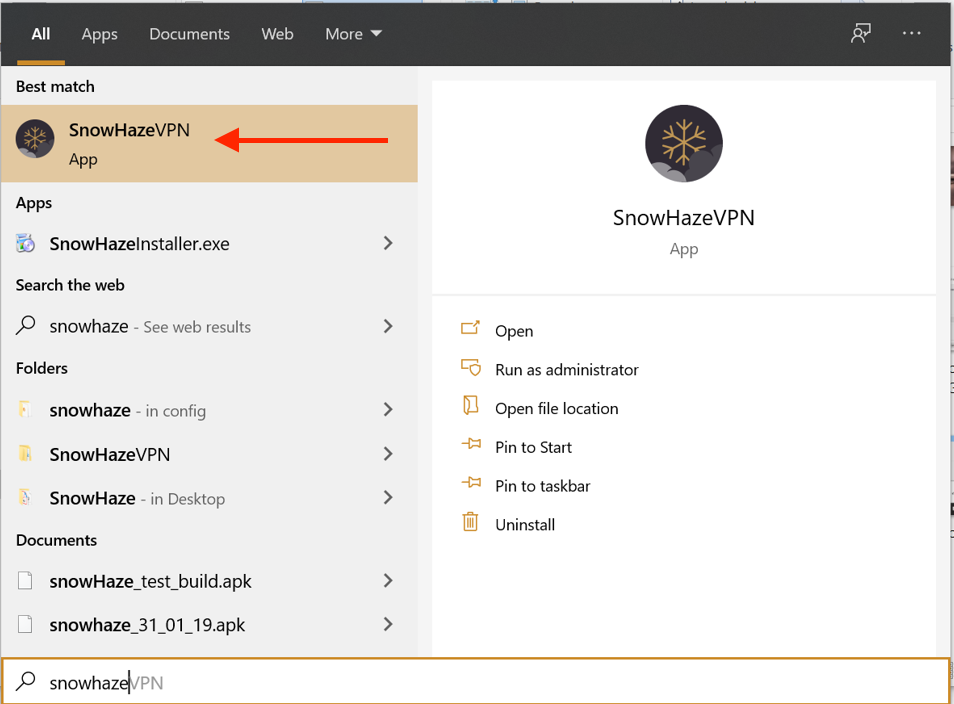
5. Search for "SnowHaze VPN" in the Windows search and open the program.
6. Log in using your email and password, or your Master Secret.

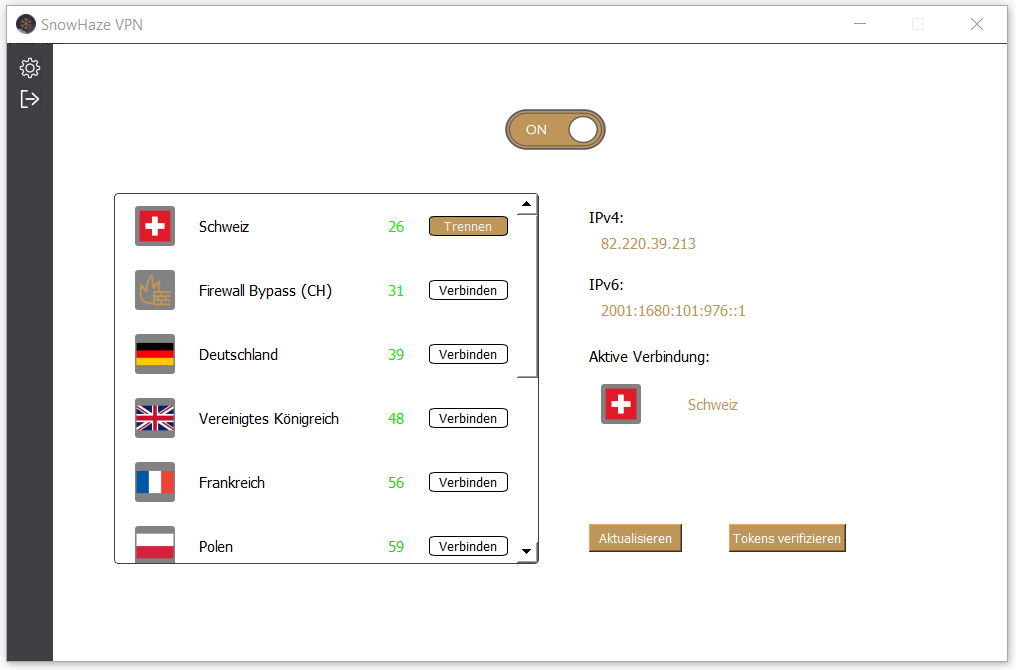
7. Connect to the VPN server of your choice. The OpenVPN will establish the connection in the background.
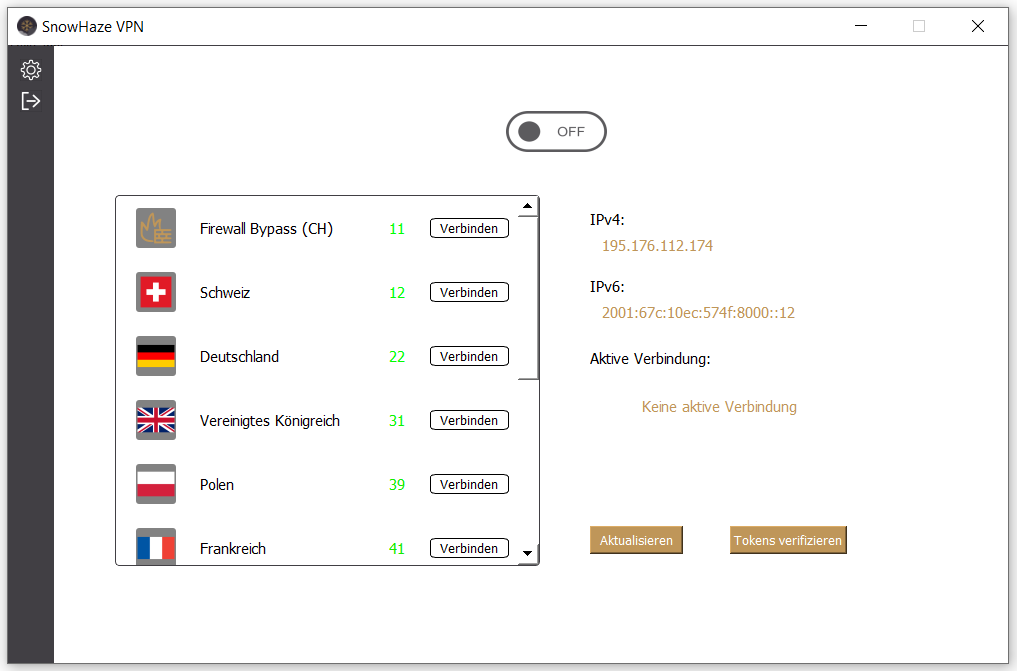
8. Manage your connections using the SnowHaze VPN Client.
1. In your dashboard ( https://dashboard.snowhaze.com ), choose a VPN profile and download it to your computer.
2. Open Settings.

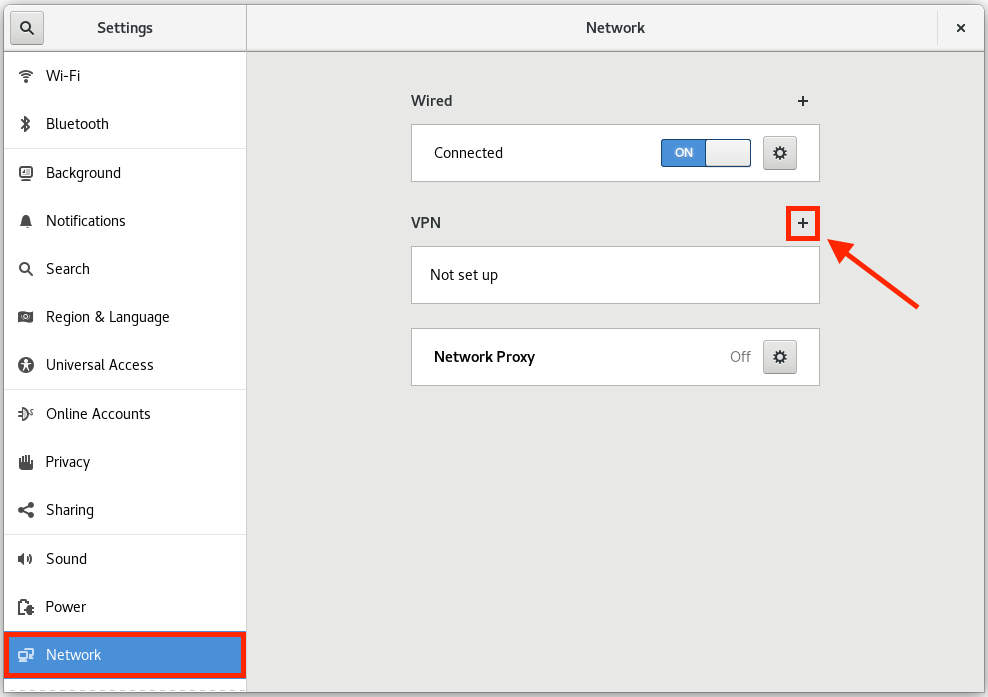
3. Navigate to Network and click the "+" symbol to add a new VPN connection.
4. Choose "Import from file...".

5. Select the previously downloaded VPN profile.
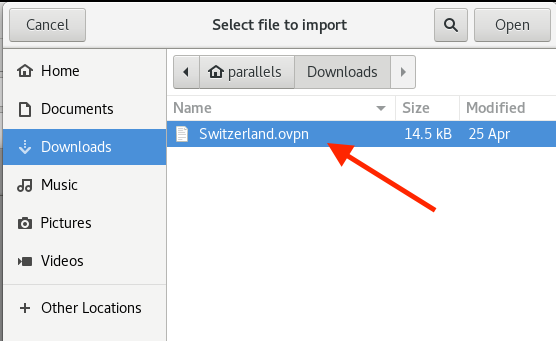
6. The new VPN configuration will appear in the network setting.
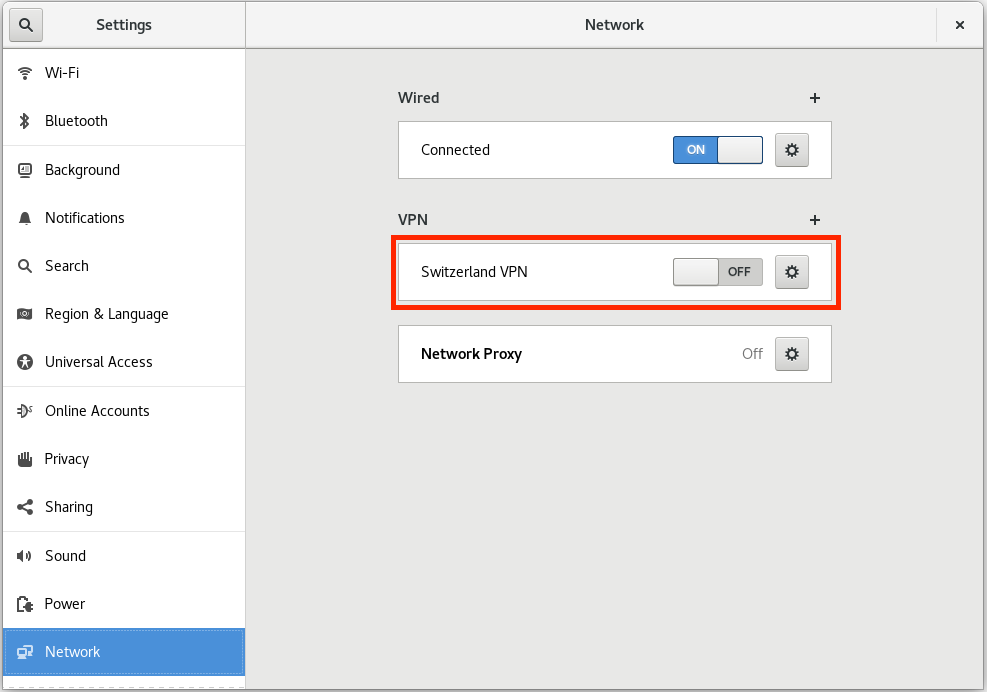
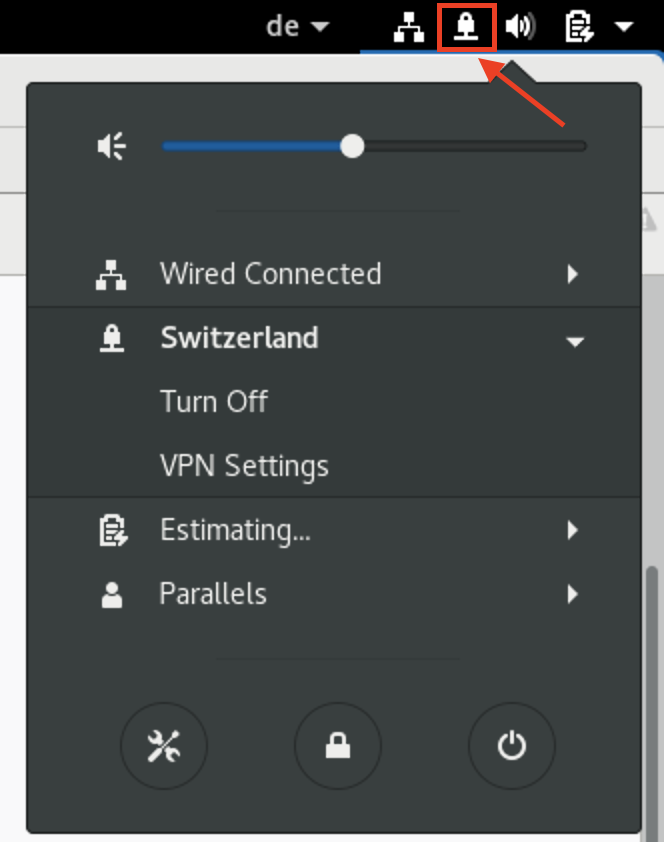
7. You can connect to the VPN through the network section in the top right menu.

8. A VPN symbol will appear when you are connected to the VPN.
Because we take our job seriously, we do not use any analytics tools or any trackers. Because we do not use these tools, we do not usually get to know our customers. We've been told several times that this is a marketing nightmare. Anyway, we still would like to get to know what our customers love and dislike about SnowHaze.
You can reach us on Wire and by email. We try to get back to you as quickly as possible.
© 2016 - 2024 Illotros GmbH. All rights reserved.
